
Home Theatre and HiFi Considerations for Building a Home
Estimated reading time: 8 minutes
Home Theatre and HiFi Considerations for Building a Home, something you really need to consider.
As spring is here, recently we have been getting a lot of people coming to us discussing their home theatre and audio plans for new home builds. It can be an exciting and daunting task at the same time. However, very satisfying when you finally get the keys and start watching your first movie in a room set up just that way you wanted. At Rapallo we put together home theatre plans, wiring diagrams, multi-room audio layouts and much more.
We thought as people start planning their home builds, we would compile a few tips and considerations you ought to make while in the building and planning stages. Here are tips on home theatre, multi-room sound, cabinetry, wiring, and how to future-proof your home at little cost! First let’s start with home theatre.

Home Theatre – Home Theatre and HiFi Considerations for Building a Home
Having a dedicated cinema room is the dream for many movie fanatics. Being able to soundproof, and have every speaker arranged perfectly makes for an amazing movie experience.
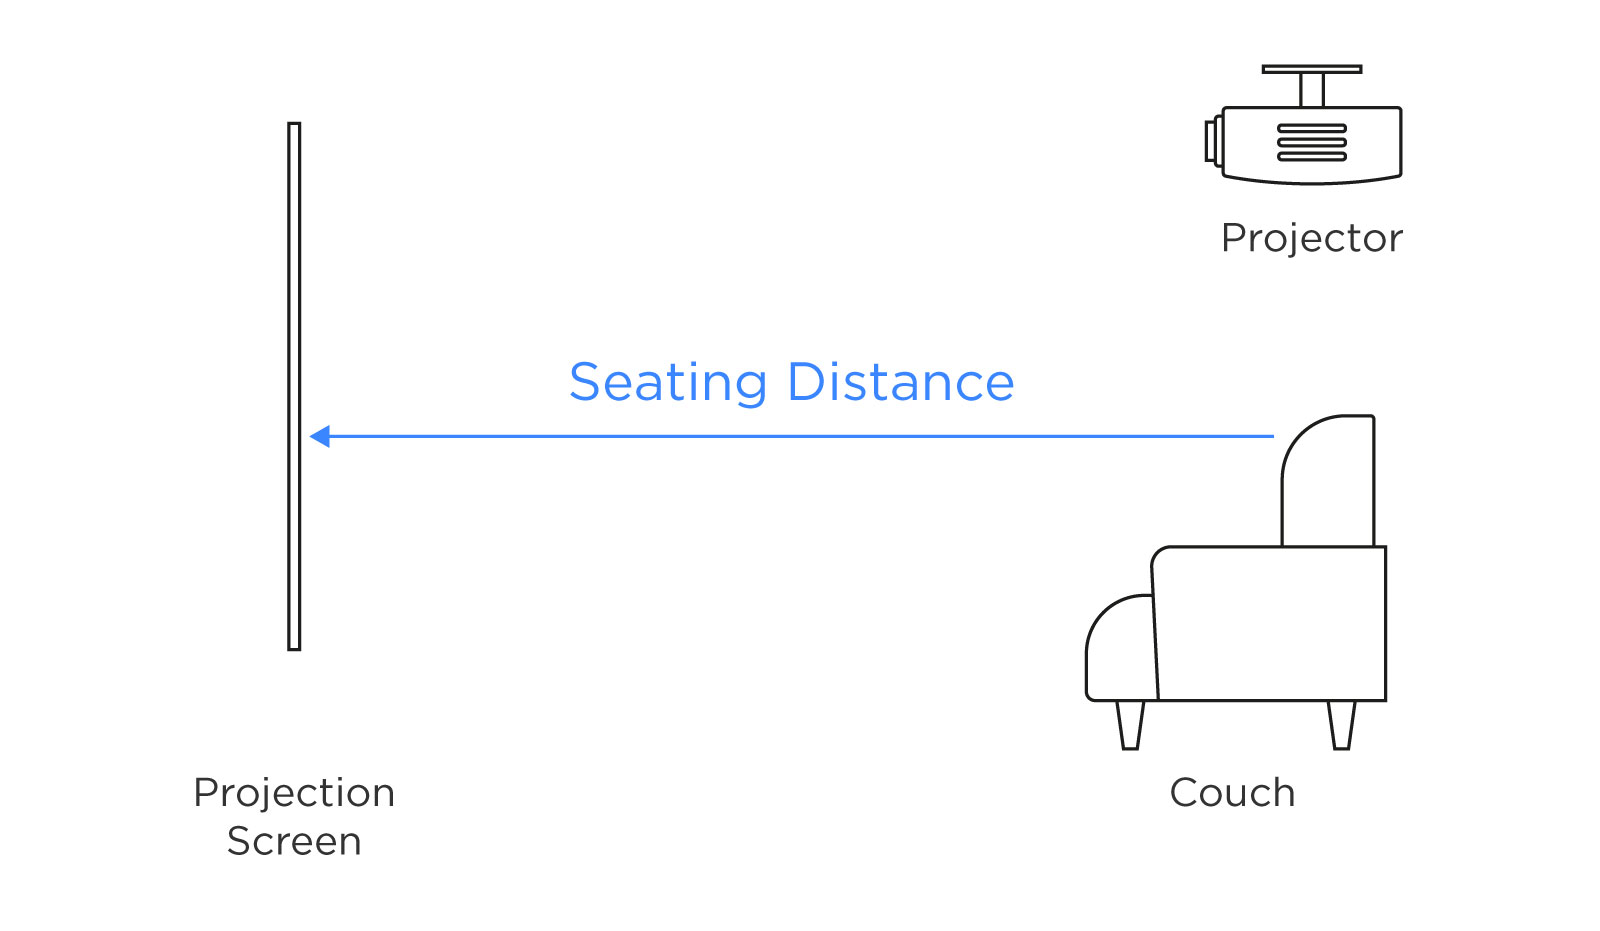
Screen size and seating position
First you want to think about the big screen. Some people think bigger is better, however they don’t often think about the seating position. If you are sitting 3m away from the screen your eyes cannot physically see an entire 150″ sized screen. This will result in motion sickness! Here is a quick guide about screen size to seating position. THX offers a guideline for seat-to-screen viewing distances. To find your optimum distance, measure the size of your screen diagonally and divide that size by 0.84. Using that calculation, a 100-inch projector screen requires an optimal viewing distance of 119 inches or 3m from the screen. This formula is the generally accepted guideline for judging the optimum distance between the screen and your seating area.
- 100-inch Projector Screens have an optimal viewing distance of 3m
- 110-inch Projector Screens have an optimal viewing distance of 3.3m
- 120-inch Projector Screens have an optimal viewing distance of 3.6m
- 130-inch Projector Screens have an optimal viewing distance of 3.9m
- 150-inch Projector Screens have an optimal viewing distance of 4.5m
Wiring
The best time to allow for home theatre wiring is before the GIB is up. During the planning stages, you want to figure out where the speaker will be positioned and run speaker cable (preferably 12 AWG) to the closest wall of the speaker positions. If you are using in-ceiling speakers run speaker cable to the positions of your Atmos speakers.
You also need to think about your video cabling. If you are watching 4K content, you need to make sure you are using HDMI 2.0 cables, that are tested at 18 Gbps speeds. Anything less may struggle to send all the HDR metadata. Be careful not to buy cheap and nasty HDMI cable that don’t claim to pass 18 Gbps. At Rapallo we have full faith in the Naked Cable brand. These cables always work and he have no issues with them and they are not too expensive. Only downside is they go up to 3 meters maximum.
If you have a projector mounted on the ceiling you will need to get a long HDMI cable in the wall, plus a power point for the projector. To send 18 Gbps speeds over HDMI over 10M, you must then start using active optical cables that use some a little bit of power from the source (eg: blu-ray player). Here is our 10M HDMI 2.0 cable.


Networking
It is also good to get network cabling (Ethernet) to your components, and sources before the GIB goes up as well. This allows for more stable connections when streaming 4K content. We usually recommend send more than you need (double) to your AV cabinet or control cupboard. This allows for more sources in the future (Apple TV, PS4, XBOX etc.)

Control cabinet
During the planning stages you need to think about where your AV components will be within the room. You could have everything in a control cupboard or room, or an AV rack, or a nice cabinet. May we suggest Sonorous?

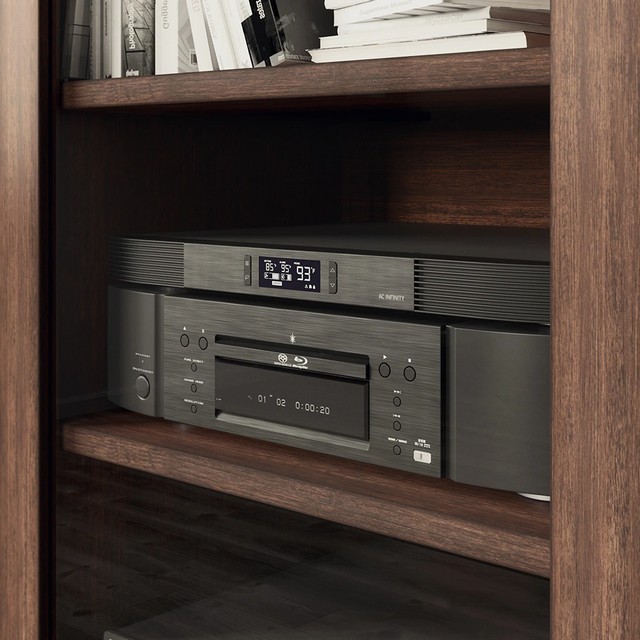
Component Ventilation
Having lots of large AV components, Power amps, AV Receivers can get very hot in a confined space. You need to make sure you leave room around the components so they don’t overheat i.e don’t put an amplifier in a cupboard draw! Have a look at the AC Infinity range, for cooling heavy duty components. Great for using in an AV control room or cupboard for peace of mind, not to mention very quite.
Multiroom Audio – Home Theatre and HiFi Considerations for Building a Home

Multiroom sound is a very common request from customers with new builds. You can go down 2 routes (or a combination of both). In-ceiling speakers, or wireless powered speakers. The in-ceiling route is the most seamless and clean look. This does however require multiple in-ceiling speakers to be installed in rooms. Plus each room must have speaker cable running from the speakers back to an amplifier. You need to think about where the amplifier will be located. Using multiple Yamaha MusicCast stereo amps, or the Yamaha MusicCast Quad Streamer you can stream different music (or the same) to 4 different zones using the MusicCast app on your smartphone
If you are going to have a home theatre, you will want to get an AV receiver that has 2 or 3 zones, so that you can accommodate for audio in the other rooms or an outdoor area.
The other option is to use powered wireless speakers. Something like the Yamaha MusicCast 20 in the rooms desire. This is a simple no hassle solution, as you can place this speaker on a deck, kitchen bench or coffee table. All they need is a power outlet and WiFi (or Ethernet). If you are going to be having these speakers on WiFi you’ll need a strong wireless network like a mesh system.

Future-Proof Yourself
- In your home cinema you may not have the budget for atmos speakers yet but it is cheap enough to lay speaker cable to where you want the speakers to go in the future. A simple DIY install is required in the future!
- Same goes for multi-room audio, lay the speaker cable the rooms in the house to where in-ceiling speakers could go, you never know when you want a room to become another audio zone in the future.
- Lay a CAT6 cable to the projector along with an HDMI, if your HDMI cable fails (breaks) you can use a CAT6 HDMI video extender. This is cheaper than replacing the HDMI cable altogether.
- Run more than enough CAT6 cables for internet to your various network streamers, and blu-ray players in the control cupboard or rack. (from the router/network switch to the AV control room)

Get in contact with the team if you are building a new home. We are more than happy to assist in creating home theatre and audio plans. We work with our clients from the planning stages, to the installation phase, commissioning all the way to the hand-over. Even if you are unsure about an certain aspect discussed in this article, get in touch. Everyone’s needs are different, that’s why we love working with our clients at the earliest stage possible.
Email [email protected], or call 09 274 4515.
- Are Blu-ray Players Still Worth It in 2025?

- Understanding Banana Plugs: Are They Worth Using for Your Speakers?

- The Ultimate Guide to Projection Screen Fabrics

- Record Cleaning Machines and How to Use Them.

- The Ultimate Guide to Integrated Amplifiers

- The Projection Showdown – Laser vs. Bulb.

- The Resurgence of Tube Amplifiers: Why They’re More Popular Than Ever

- The Great Debate: Open-Back vs. Closed-Back Headphones

- The Importance of Acoustic Treatment in a Home Theatre Room


Sources: simtechsolutions, Rapallo New Zealand Limited, Yamaha, cht solutions, THX, AC Infinity, naked cable, wireworld