What is TV and Projector Calibration?
Estimated reading time: 6 minutes
What is TV and Projector Calibration? – video display calibration is a very common and integral part of professionals in the film industry. It allows the production process such as, editing and colour correction consistent.
It allows professionals in the film industry make sure their craft is exactly what they envisioned. Movie makers might use several different cameras to shoot a film. Screen calibration allows them to know what the final product will be all throughout the movie-making process. Calibrating your display in a home theater environment is not much of consideration to many consumers nowadays. However it can enhance your viewing experience allowing you to see better picture sharpness, colours and detail in both the bright or dark scenes.
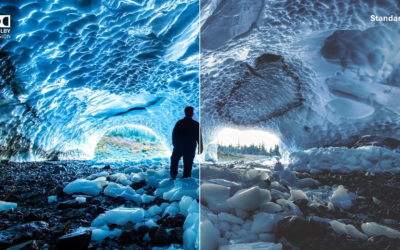
With the newest video standards like Dolby Vision and IMAX Enhanced, consumer media is pushing the boundary in getting the viewer closer to the what the directors imagined.
There is the option of using a Spyder3TV calirbration kit. This provides you with a colourmeter, DVD and software for your PC to calibrate the TV or projector settings. It can be very technical and time consuming, but it gives you the best result as you are letting a computer tell you the ideal settings for your particular screen in your particular room. A simpler solution would be to use a calibration Blu-ray disk that displays test patterns to allow you to calibrate the settings with your eyes. See bellow our tips on how to enhance movie experience by simply diving into your display settings.
TIPS:
Daytime and Night time mode:
On most TVs and projectors have presets such as Natural, Vivid, Cinema, and Dynamic modes. You are able to go into the settings and change the contrast, backlight, brightness etc. A great way to have a daytime and night time viewing mode is to chose 2 modes and tweak the settings within your chosen modes. They will be saved and act as presets. You will easily be able to switch between the 2 at the appropriate times.
Back light:
If you have an LED TV, there will be a back light behind the pixels which contributes to how bright the picture is. In a dark room or at night you want the back light dimmed enough to see the details in the shadows, but not too much so that the whole image looks hazy. This setting is often better at adding brightness to your picture than the ‘brightness’ setting. Sometimes TVs have a auto back light feature dimming the light according to the ambient light in the room. However, if the weather changes constantly or you have shadows from trees affecting the ambient light in your room the back light can change too much.
Brightness:
This acts very similar to the back light but artificially brightens the picture. Use this setting to adjust the depth of black. If it is set too low you can loose detail in the shadows. If it is too high, the blacks won’t look very dark.
Contrast:
Contrast is for adjusting the detail in the bright images. When it is too low, you will loose detail in the bright parts of a picture. Contrast is usually a high value on your settings. You can usually get away with having it at the max value since modern TVs are good enough to avoid clipping the whites.
Sharpness:
This is the detail and the sharpness of the edges in the image. Too much sharpness and lines will look jagged, to little and the lines will be blurred together with no definition. You can boost the sharpness a little to have a more defined image.
Colour or Saturation:
This is the level and strength of the colour in your image. You want your picture look natural and not too saturated. Usually on a sport or vivid setting the colour will be boosted out of proportion, which helps with identifying sports kits and fast moving objects. But for movies you don’t want an unnatural, overly saturated picture. Which is why accessing the quick picture settings is really convenient.
Calibration Disk:
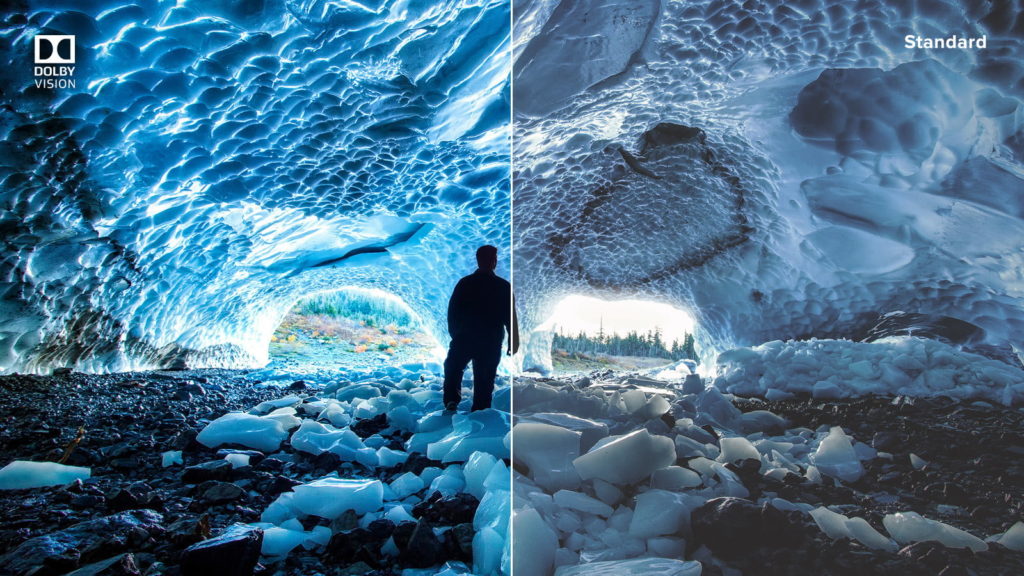
An industry favourite is the Spears & Munsil HD Benchmark Disk v2. This comes with in-depth articles on what each setting changes and why. As well as what you are aiming for in each test pattern. This disk is unique in that fact that is allows to you calibrate 3D images. This tool is recommended by the ISF (Imaging Science Foundation) founder and president.
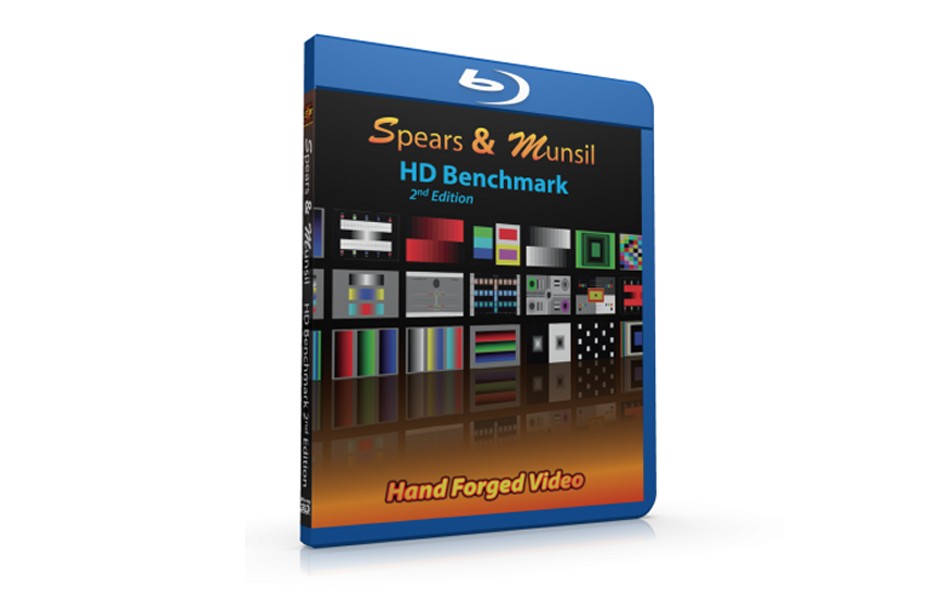
A cheaper option is the Digital Video Essentials: HD Basics Blu-ray. This provides video tutorials on how your can calibrate your display settings accordingly. It is straight forward and a little less complicated/deep as the Spears & Munsil.
Here is an awesome Glossary sourced from Digital Trends that labels all the picture settings from the different brands, the Sony settings are the same for their projectors too.
| LG | Samsung | Sharp | Sony | Vizio | |
| Backlight | Backlight/OLED Light | Backlight | Backlight | Brightness | Backlight |
| Brightness | Brightness | Brightness | Brightness | Black level | Brightness |
| Color | Color | Color | Color | Color | Color |
| Color space | Color management | Color space | C.M.S. | Advanced color temperature | Color tuner |
| Color temperature | Color temperature | Color tone | Color temperature | Color temperature | Color temperature |
| Contrast | Contrast | Contrast | Contrast | Contrast | Contrast |
| Dynamic contrast | Dynamic contrast | Dynamic contrast | AquoDimming | Advanmced contrast enhancer | Black detail |
| Full/limited RGB | Black level | HDMI black level | Black level | Dynamic range | |
| Local dimming | LED local dimming | Smart LED | N/A | Auto local dimming | Acrive LED zones |
| Motion interpolation/Motion smoothing | TruMotion | Auto motion plus | Motion enhancement | Motionflow | Reduce judder/Reduce motion blur |
| Noise removal | Noise reduction and MPEG noise reduction | Digital clear view and MPEG noise filter | Digital noise reduction | Random noise reduction and Digital noise reduction | Reduce noise |
| Picture mode | Picture mode | Picture mode | AV Mode | Picture mode | Picture mode |
| Sharpness | H & V sharpness | Sharpness | Sharpness | Sharpness | Sharpness |
| Tint | Tint | Tint | Tint | Tint | Tint |
| White balance | White balance | White balance | Advanced color temperature | Advanced color temperature | 11 point white balance |
Sources: rtings, Digitial Trends, PC Mag, lifewire
- Projector Lamp Longevity
 Question: Do you have any idea why the colors of an InFocus projector have turned green-blue (or rather lost red) after only 250 hours? Is this an indication of lamp aging?
 - What is HDBaseT?
 HDBaseT™ is a technology that delivers high-definition video, audio, Ethernet networking, control signals, and power over a single Category 5E or Category 6 computer networking cable. The technology is meant to be used with consumer electronics and home theater equipment, and has a few benefits that are not offered by other types of connections. The initial version of the specification was announced in June 2010, and uses High-Definition Multimedia Interface (HDMI) signals over a network cable.
 - Subwoofers: The Guts and the Glory
 Subwoofer design has undergone a revolution. No, the physics of woofers, amplifiers, and enclosures haven’t changed. But new technologies have made it possible to push the bass-ic laws of nature to their limits, such that the best of today’s inexpensive subwoofers can outperform many of the top models from 15 or 20 years ago.
 - The Art of Subwoofer Placement

 What’s the best location for my subwoofer? Like many things in life, subwoofer placement often involves compromise, and is typically driven by competing variables like décor and visual impact considerations, available floor space, and of course optimal sound quality.
 - The Cabinet & the Subwoofer
 I’m in the interesting position of telling you how to do something with a subwoofer that you shouldn’t do. No, it’s not illegal. But in the ears of those for whom sound quality is more important than ergonomics, décor, and/or domestic tranquility, it’s definitely heretical.
 - Do projection screens really differ?
 One person wrote recently that he was looking at three fixed-frame projector screens. All of them white, all of them the same size. One was $1800, one was $1200, and one was $600. Is there really any difference between them, or is it all just marketing?
 NZ AV specialists available to help before or after your purchase
 Over 1800 verified product reviews from genuine NZ verified purchasers
 Secure checkout & local warranty, we look after you
 NZ price match on identical products so you know you are getting the right price