
Rapallo’s pre-wiring tips for a great audiovisual set-up
Estimated reading time: 11 minutes
We hope you enjoy reading Rapallo’s pre-wiring tips for a great audiovisual set-up.
During our time as AV supplier and custom AV integrator, we’ve seen several home-owners placed in difficult situations because of incorrect pre-wiring by either themselves or a contractor.
We have a few tips lined up that will save you time and money in the future, and allow you to have a better finished product. Most of them come from personal experience, but we’ve been gathering a few excellent ideas from forums as well.
A key factor before you start pre-wiring your home is planning.
1. Decide on A/V equipment rack location (and set-up)
2. Select the correct wire for the pre-wire
3. Include pre-wire for future upgrades and flexibility
If you are building a new home from scratch or you are involved in a big renovation, it is possible that your builder will not allow you on site to do the pre-wiring yourself. Often this is part of the electrician’s job. It’s good to keep in mind that a good electrician isn’t necessarily an expert in AV installations, though. Because of this, you may want to be a bit more heavily involved in the planning side of things. A separate meeting to discuss your AV requirements and expectations in detail may be a good idea. We will happily help you with the planning (and installation should you wish to) side of things.
In most situations, you are allowed to handle the wiring for your AV installation yourself. We won’t go into the how and when in this blog. Just one thing we need to say: we don’t recommend to do this unless you are a confident DIY’er with excellent knowledge of all things audiovisual. Also, we are by no means advocating to start dabbling in electrical work. That’s the job of the electriician and for safety reasons (and legal reasons) should remain that way. Anything that is 230V is stricktly ‘sparky’ territory.
Deciding on equipment location
The first step in your planning process is to know what set-up you like for now (but also in the future), whether you have any preferences for certain brands and where your home theater equipment will be installed in the home theatre room (whether dedicated or not).
A lot has been said in the past about the speaker set-up, so we won’t go into that here. However, the equipment rack housing blu-ray players, AV receivers and/or amplifiers, DAC’s, tuners, streamers, CD players (yes, some of us still have these) probably deserves a word or two.
The equipment rack is the central location where all the wire from speakers, subwoofers, TVs, front projection systems and accessories will merge and be terminated to the equipment.
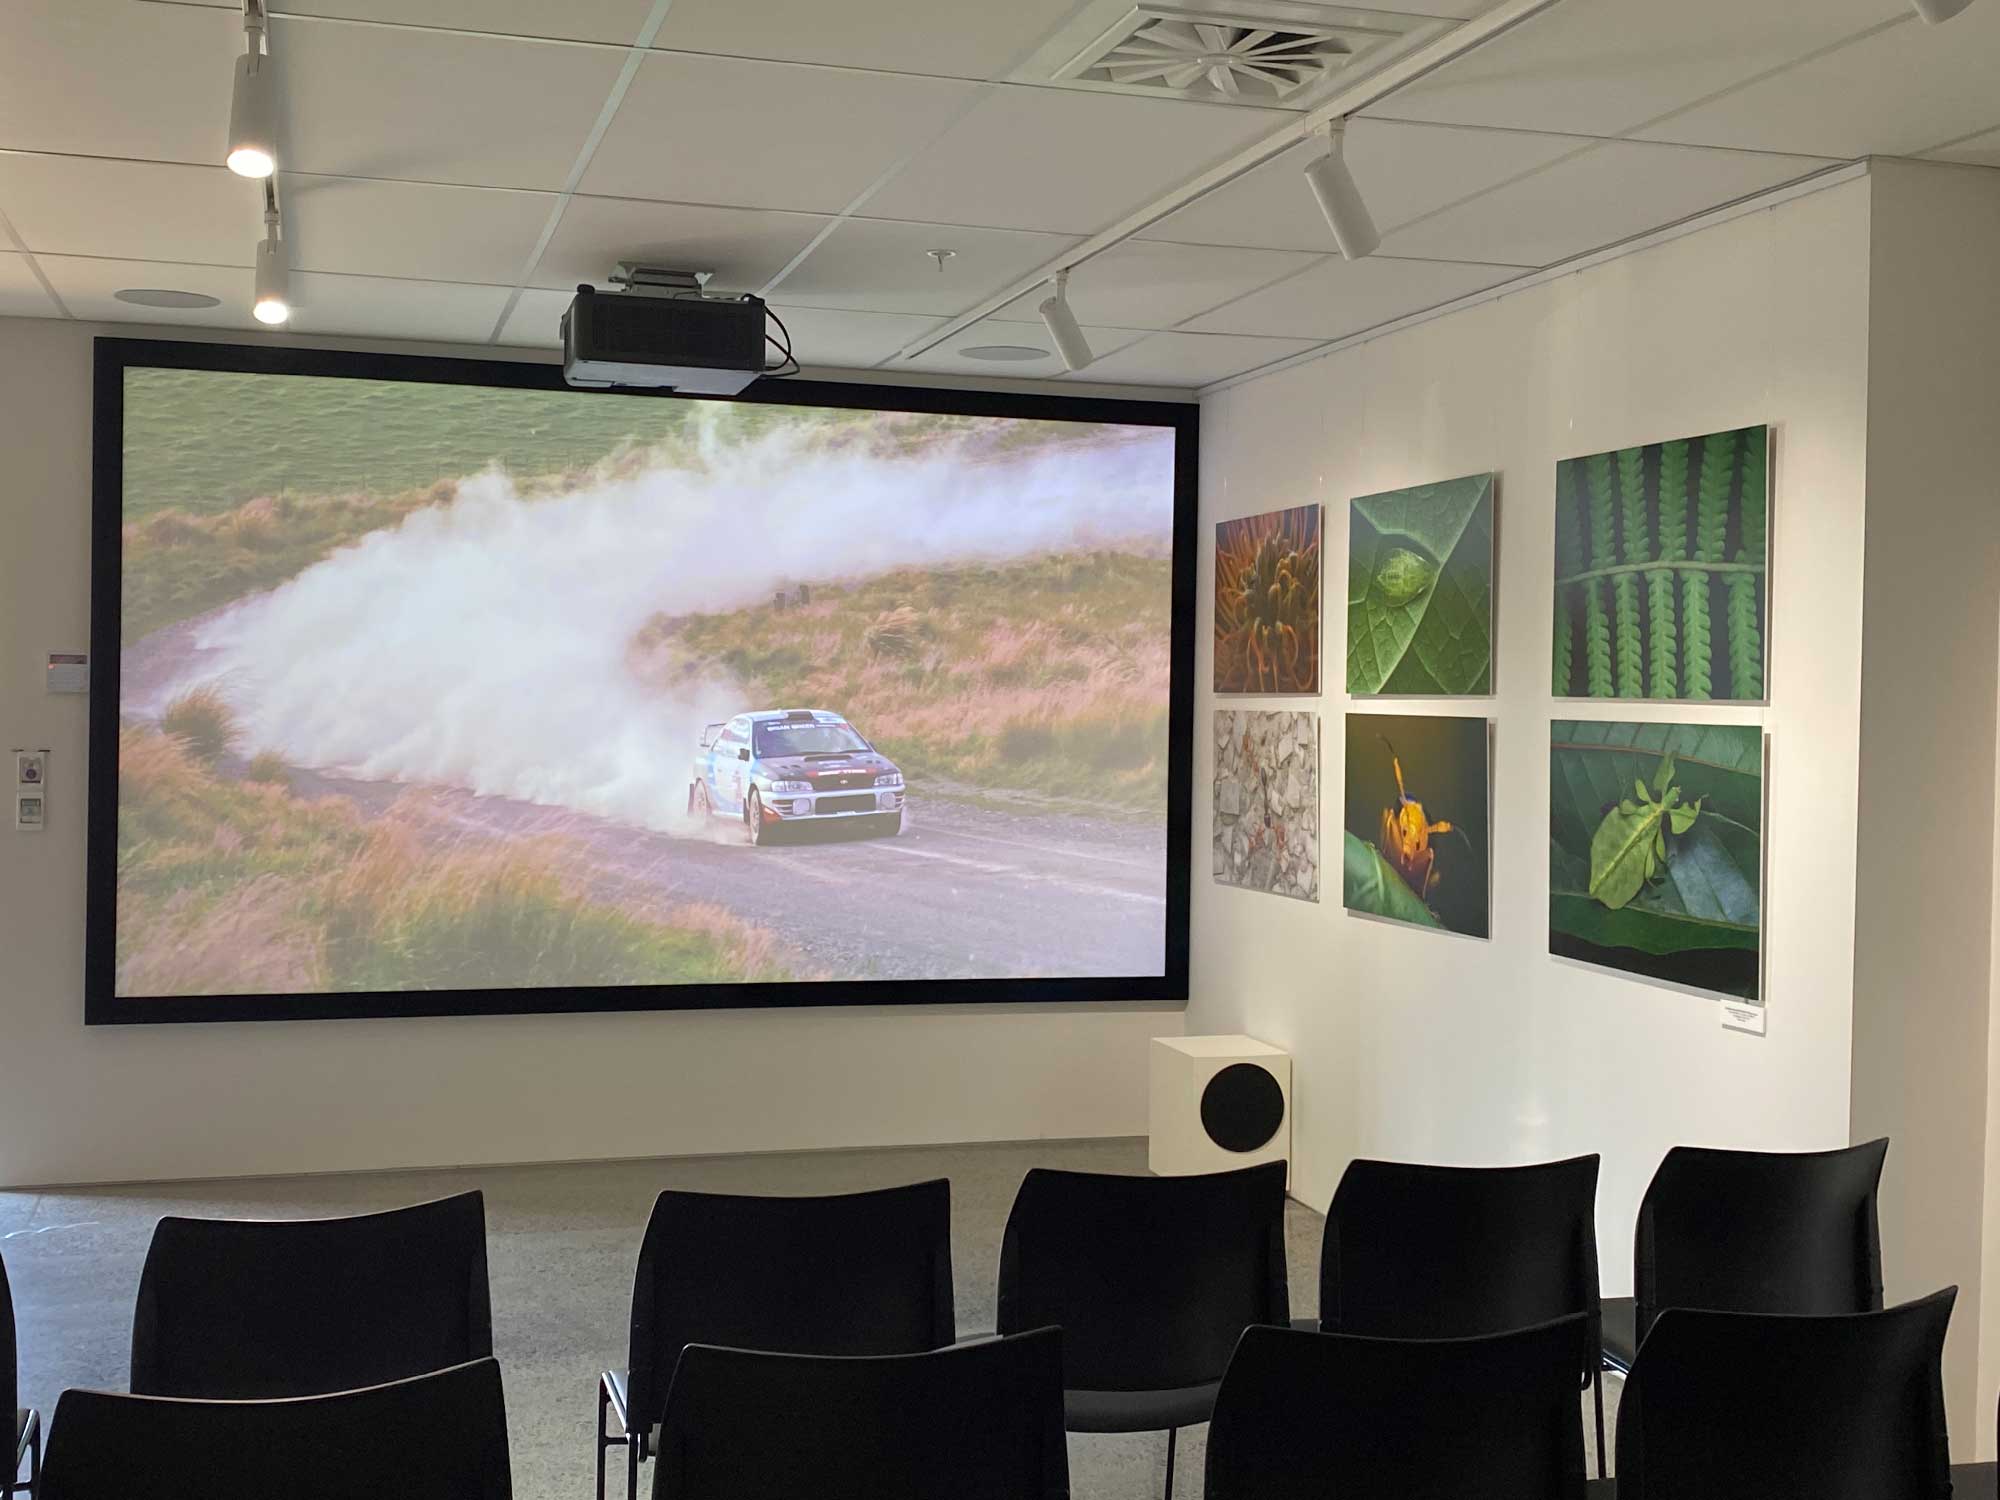
You can install the A/V rack in just about any location in or out of the room. Generally speaking, we don’t recommend placing A/V components in close proximity to your screen. The reason for this is simple. In a darkened room, power indicator lights and LED indicators on the A/V components can be distracting and glare off the viewing surface. If the A/V component rack is placed in a position that is not in a direct line of sight, the A/V equipment lights become less of a distraction and your viewing will be a lot more enjoyable. If there is no other option that to have your AV components close to your screen, a few light dim stickers can help out.
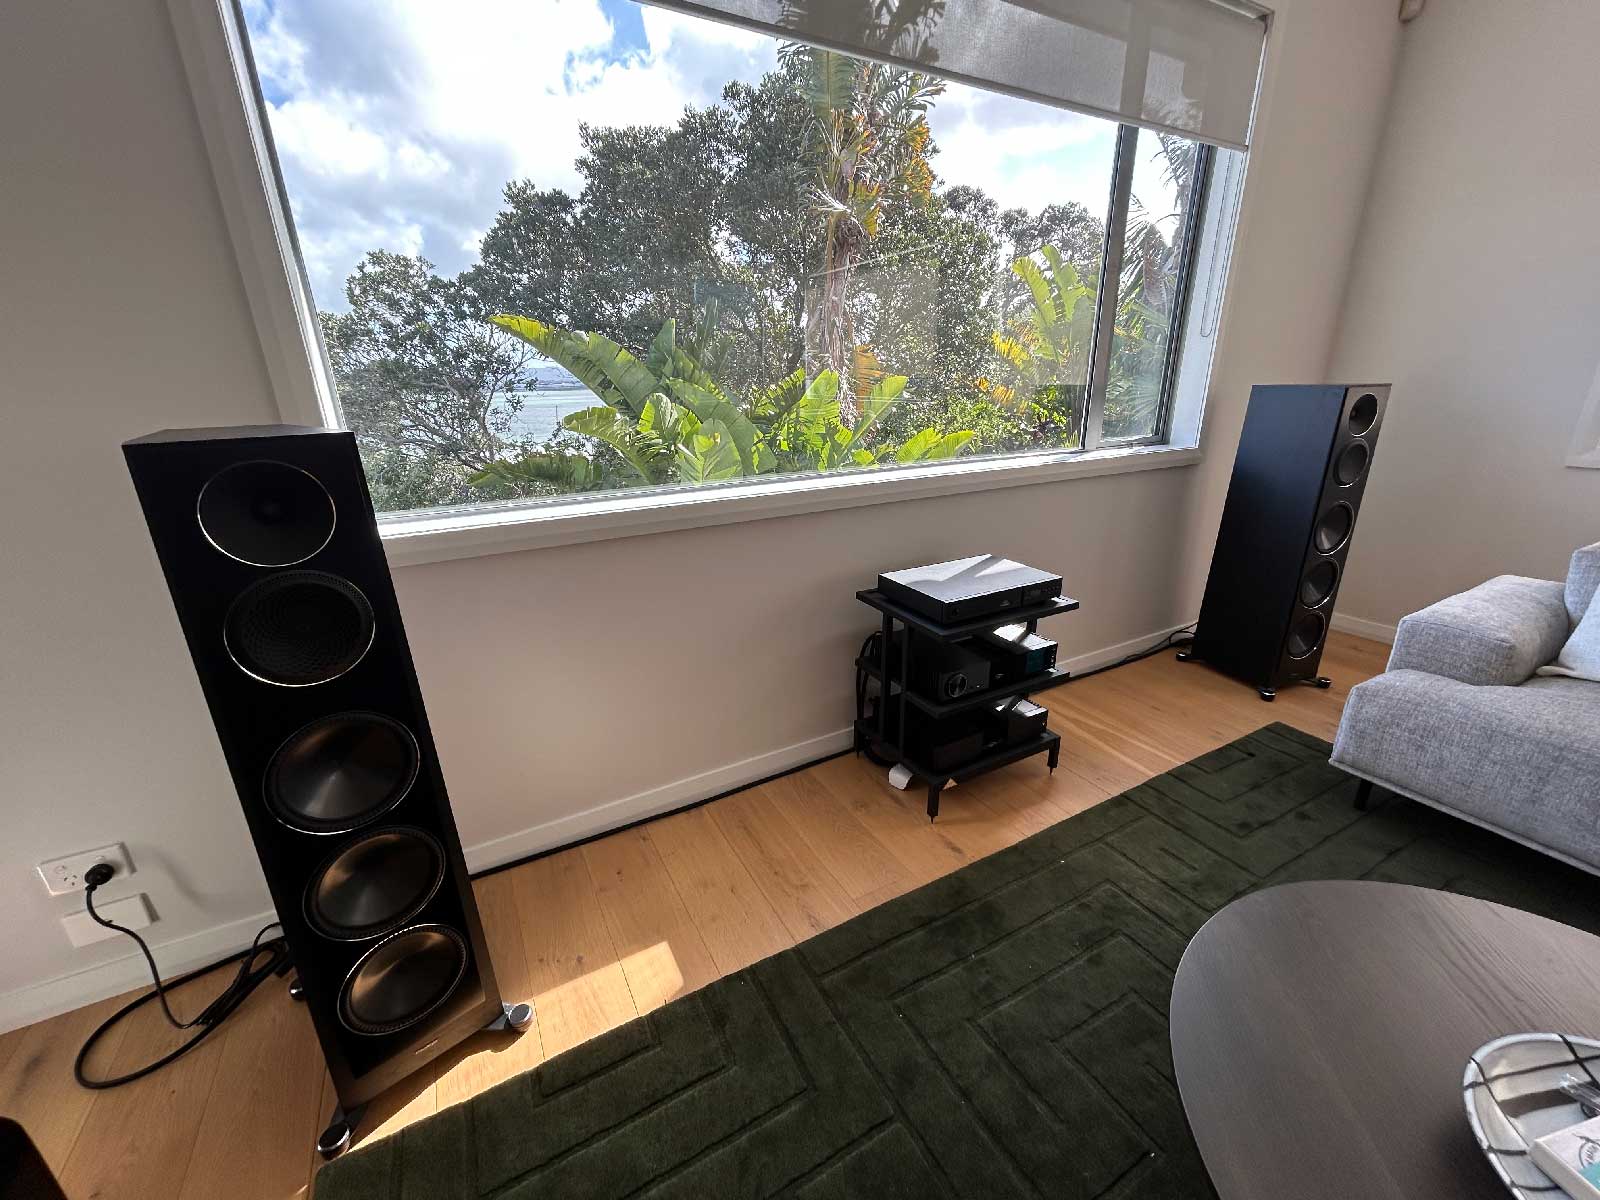
We personally prefer having the A/V component rack on the side wall at about the half way point of the room. We prefer this location because of its close proximity to the seats. This location also provides uniform and shorter wire runs to my front projector and multiple speaker systems.
If you choose a location behind the seated position or out of the room you will need to consider using a Wi-Fi-based remote control. IR based remote controls need line of sight for proper operation, but a lot of equipment is still only reliably controlled via IR. So a hybrid Wifi-IR setup is best. Logitech does a great job with their Harmony remote control hubs, but there a few other good options such as Axium or Global Cache.
Alternatively, we recommend our remote control extenders as very simple and affordable solution for out of range IR remote controls.
Many homes have custom made A/V cabinetry that will house a large screen TV and AV components on a front wall and often doors will cover the A/V equipment for concealment. If this is the case with your future installation, you should consider the use of a non-glare surface for the doors and must remember that AV equipment needs proper ventilation.
Wiring for today and tomorrow
The first step is knowing what type of wire to install for home theater AV components you currently have and may need for future upgrades. Technology changes at a fast rate, whether we like it or not. A good pre-wired home should always be ready for upgrades. While it is impossible to predict the unpredictable, you can make future upgrades much easier with proper planning.
If you’re wiring for a whole-home speaker system, save yourself time and money by running 4-conductor speaker wire. Most speaker wire is classified as 2-conductor, meaning that there are two separate wires, enough for a single speaker. 4-conductor wire has four separate wires, enough to hook up two speakers. By using 4-conductor, you only have to pull a single speaker cable to each room that has a pair of speakers.
HDMI is the standard connection when it comes to hooking up modern home theater equipment, so what happens when a pre-wired HDMI cable doesn’t work? Maybe a drywall screw went straight through it? Or what happens when the HDMI specification changes and the cable buried in your wall no longer works properly? This is one of the reasons why it might be a good idea to run two CAT6 cables along with any HDMI cable. The CAT6 cables act as a backup. Through the use of an HDMI extender over CAT, either one or two of the CAT6 cables can be used in place of an HDMI cable.
Also, significant power losses can occur over long runs, resulting in lower performance. While this probably won’t be a problem in most single-room setups, it could be an issue for multi-room systems. If long distances can’t be helped, use Redmere cables or use an HDMI extender. The new HDMI over fiber cables are very robust and can work well over long distance, but they remain quite expensive for the moment.
The alternative is the use of Ethernet cable (CAT6) for whole-house audio/video systems. This option is currently growing in popularity. (There are currently a few multi-room music and video systems that use Ethernet cable available. We plan on dedicating a separate blog on wireless speakers, wireless home theatre systems and wireless whole house systems in the near future.)
Ethernet cables stand up to interference better than AV cables. That said, it is very important to have both HDMI cables and CAT cables at least 12 inches away from power cable. Also, they always should cross power cables at an angle of 90 degrees.
It’s a consideration that your electrician or AV installer (or you) may take care handling your $500 HDMI cable, don’t assume that the rest of the people working on your home will equally appreciate its fragility.
It’s kind of a favorite topic of ours, but we’ll say it again: always use speaker cables that are up to the task- make sure they are of adequate gauge relative to length and maximum wattage: 14 gauge under 10m and 12 gauge for everything over 10m (for 8 Ohm speakers).
After your home has been wired, cover (or ask your electrician or installer to cover) all exposed wiring with plastic bags. Wrapping electrical tape around the bags ensures they don’t fall off.
If you don’t protect exposed cables you will likely come back to a freshly textured and painted home, only to discover that you also have freshly textured and painted cables.
While you’re at it, ensure the cables are bundled up in such a way that the builder installing the Gib can actually get the wires through the holes they will have to pre-cut in the drywall (Gib). As mentioned before, be mindful to keep power cable, CAT cable and HDMI cable separate.
Especially in the case of large projects, don’t trust you will memorize the wiring plan. It is always good to take notes about what is run where.
I also always take photos of wires that will be hidden in the wall. Better yet, I use my phone to take a video of every pre-wire I complete. In the video, I explain the purpose and thought process behind each wire. You’ll feel silly, but I have celebrated the video’s existence on many occasion.
If, for some reason, you can only take photos, then write notes on the wall and capture those notes in your picture.
Future-proofing for what is to come
It may be tempting to do the absolutely necessary to get your current system up and running. This might be a cost effective solution in the short term, but it will also mean that your system will have no room to evolve with what the future brings. Cutting cost now may become a rather expensive exercise for the future. As with anything, it is about being smart. You don’t want to throw money left, right and center, but your future self will be very grateful for a little forward thinking now.
If you plan on having a future home theatre but at this stage don’t have the dosh to actually put it in, allow for a separate dedicated power line, just for your AV-gear. Do not attach anything other than the A/V system to this special dedicated line. Lighting, heat pump and anything not directly related to the A/V system, should be attached to a separate circuit breaker.
If you have an idea of what your home theatre is going to be like, be sure to plan for enough outlets for the electronics, speakers, sub-woofers, video and video accessories as well as the location of each outlet.
After your new home or renovation is finished, most of the time, you will still be able to run new wires by stringing them through the attic. And as long as you are running the wire to a location on an interior wall, the process should be reasonably painless.
However, because exterior walls are insulated, running wire down an exterior wall can require some serious belly-crawling to say the least.
If money is tight at the time of the big works; conduit is your friend.
If you aren’t going to run conduit all over the home, at least pre-drill holes in the top plate of a few exterior walls and run about 20 cm of conduit down the wall and leave 20 cm in the attic. Adding a pull string is always a good idea.
This will allow you to easily add wires in the future in a cheap, quick, and easy way.
In the ideal world of pre-wiring for subwoofers, we would recommend running conduits to each side wall and rear wall, especially in a dedicated home theatre. Even if you’re not planning on running three subwoofers (you know we like multiple subs to smooth in-room response), the reality is that often it’s difficult to predict where your subwoofer(s) will sound best. Having a few options to play with so you can find out what works best for your room is always a good idea.
For runs to a projector, we would also recommend running conduit with a second HDMI cable for redundancy, as well as an Ethernet cable or 2 for internet connectivity and triggering your electric screen as an option for the future.
It may sound trivial, but it is important to ensure any conduit from equipment to a display measures 1.5” in diameter, or 2” if you want maximum flexibility so your future cable actually fits the conduit (!).
Use a flexible duct, it’s so much easier to wire through.
As the number and capabilities of Internet connected devices continue to increase, so do the demands placed on residential wireless networks. For many families, a single router is no longer powerful enough to handle the strain modern devices place on a network. Therefore, I recommend planning for a managed wireless network or at least multiple wireless access points.
More and more commercial wireless access points (WAPs) can be powered with only an Ethernet cable. This is referred to as PoE, or power over Ethernet. By running a few Ethernet cables to various locations in your home, you’ve already set up yourself to expand your wireless range with PoE WAPs. All new homes should be wired with Ethernet, but those wires are usually ran to the same location as cable jacks or AV equipment. That’s not where you would typically want a WAP for future audiovisual use.
In my home, I hid CAT6 cables behind blank wall plates in the master bedroom, kitchen pantry, and hallway closet ceilings. This will allow me to easily add additional WAPs in centralized locations, out of sight, and away from the interference of other electronics.
This is only a short summary of ideas as part of Rapallo’s pre-wiring tips for a great audiovisual set-up, these might be of some use in your AV system updates or design. We have no doubt that many of you have additional clever solutions. Let us know if you have a few to add.
That said, for those of you who would love a bit of help in planning and/or executing your new AV project, give us a ring. We love to help out and have a our own Certified Electrician on the team should this be required. And finally, if you have no intentions on embraking on a building project or a massive renovation, but still want that awesome AV set-up, we still have plenty of solutions up our sleeve.
- Why Every Audiophile 2-Channel System Can Benefit From a Subwoofer

- Understanding Turntable Cartridges

- Setting Up a Projector for a Golf Simulator

- What Streaming Platform Should I Use?

- HDMI Cables Explained

- How To Set Up An Audiophile Network Switch


Source: Crutchfield, Audioholics, HomeTheaterShack Forum, AVSForum, Cnet Forum
 NZ AV specialists available to help before or after your purchase
 Over 1800 verified product reviews from genuine NZ verified purchasers
 Secure checkout & local warranty, we look after you
 NZ price match on identical products so you know you are getting the right price