
How to Wall Mount Your Flat Panel TV
Let our team walk you through How to Wall Mount Your Flat Panel TV.
There are a few certainties in life when it comes to AV installations. One of them is that most people find it a bit daunting to mount their new flat-screen television on a wall. Not only do we know because of the amount of times we have people ask to do it for them, but also because an old(er) blog on the topic is one of our most popular blogs… ever.
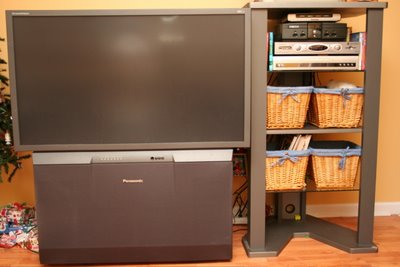
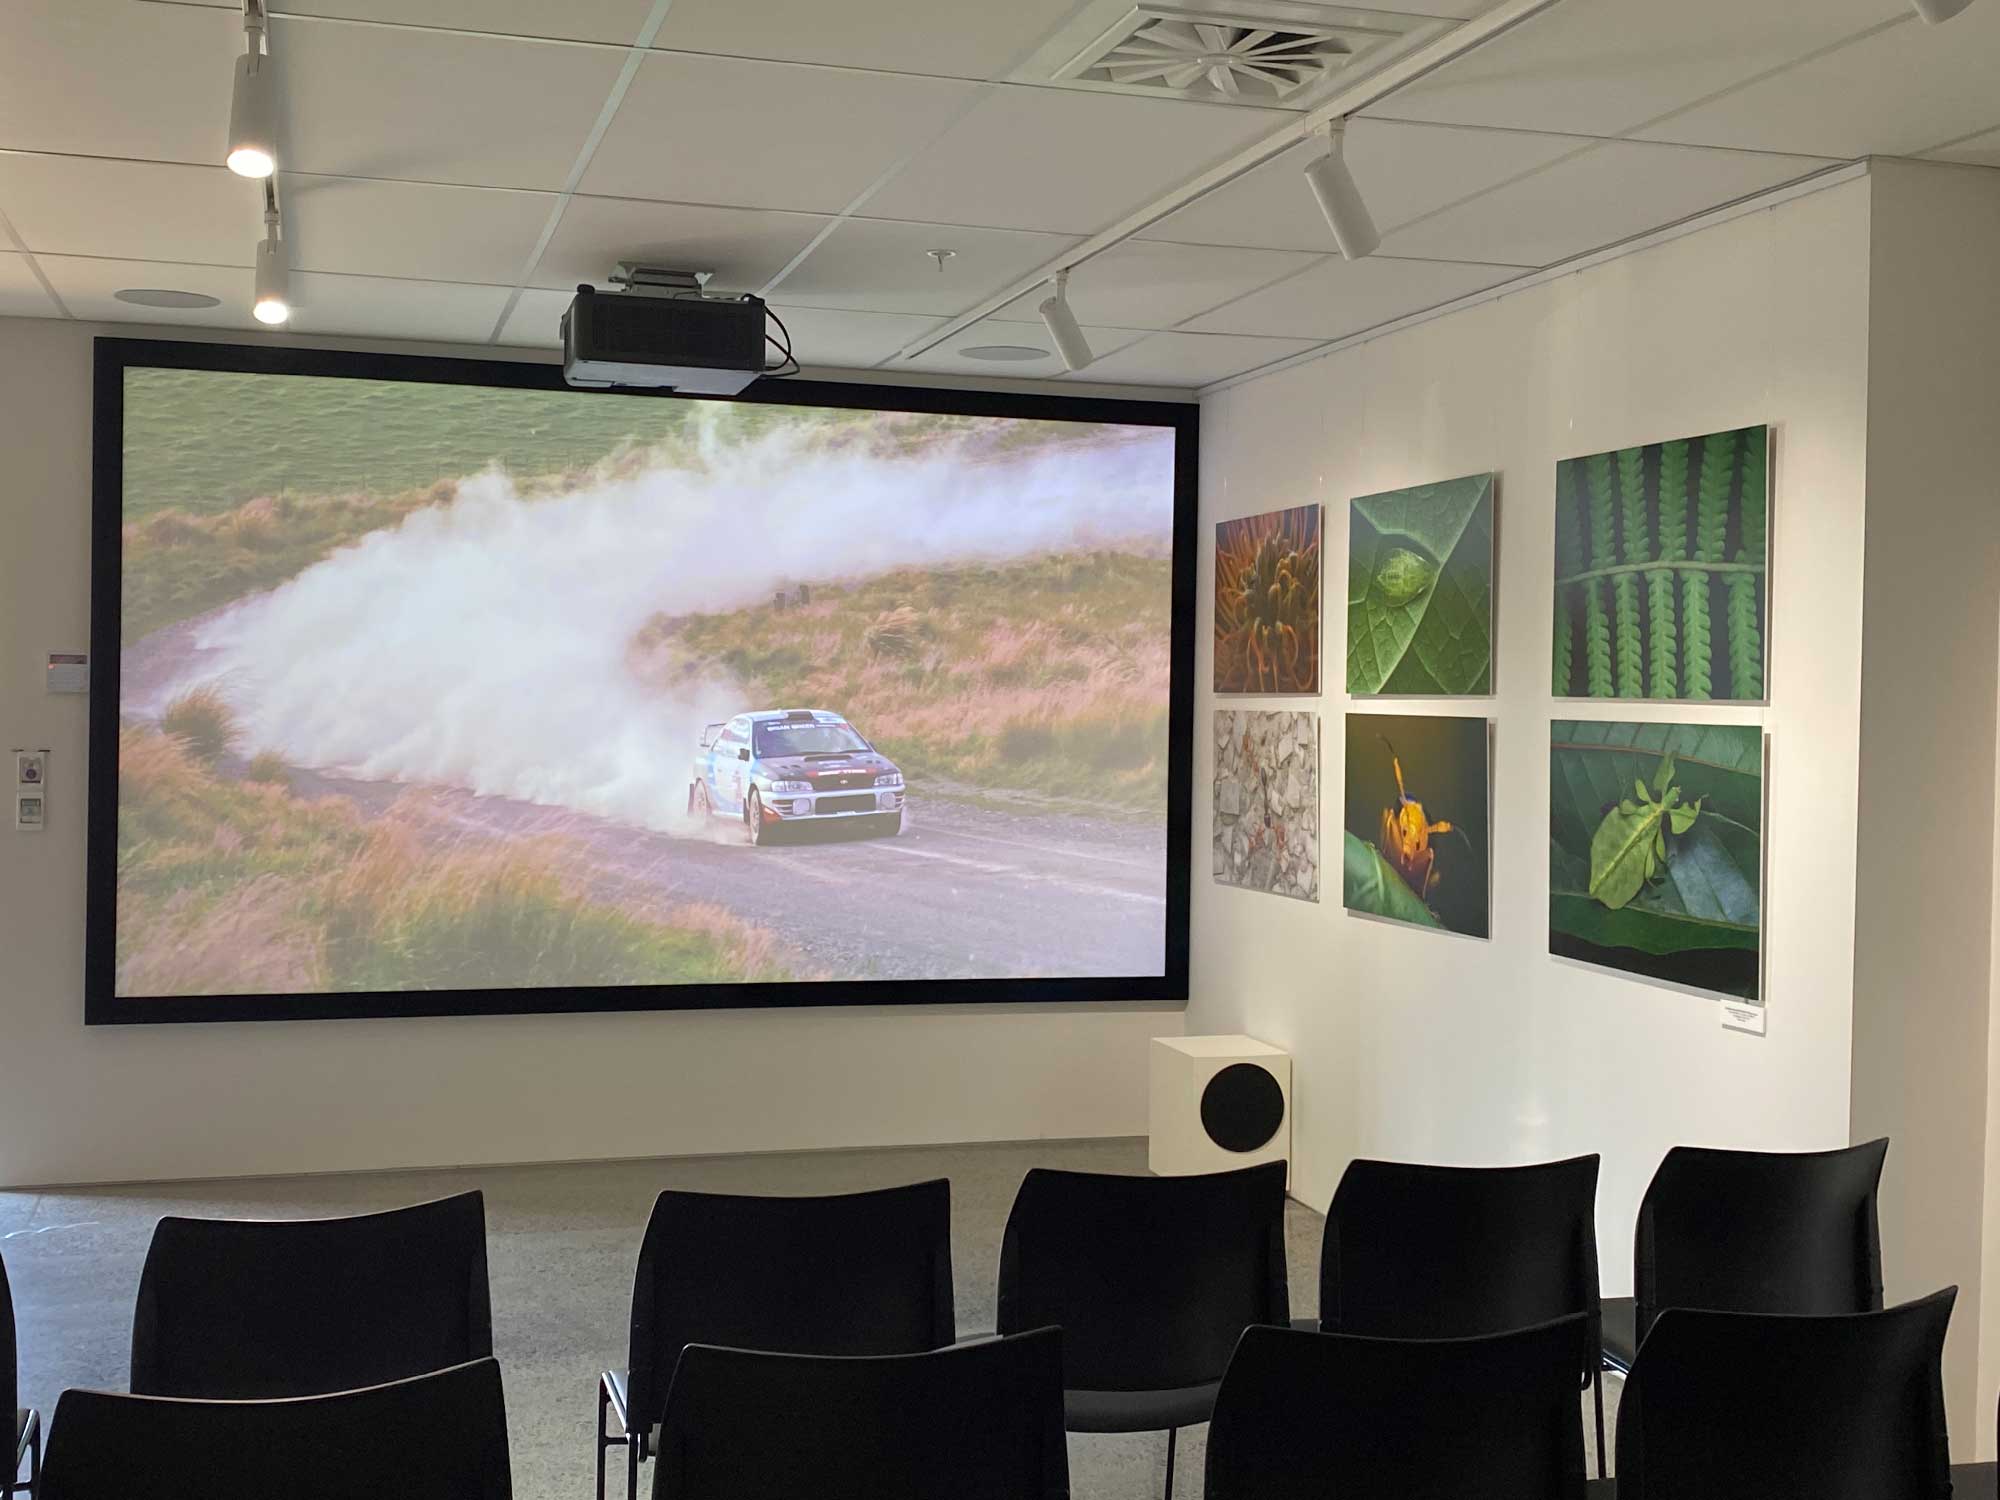
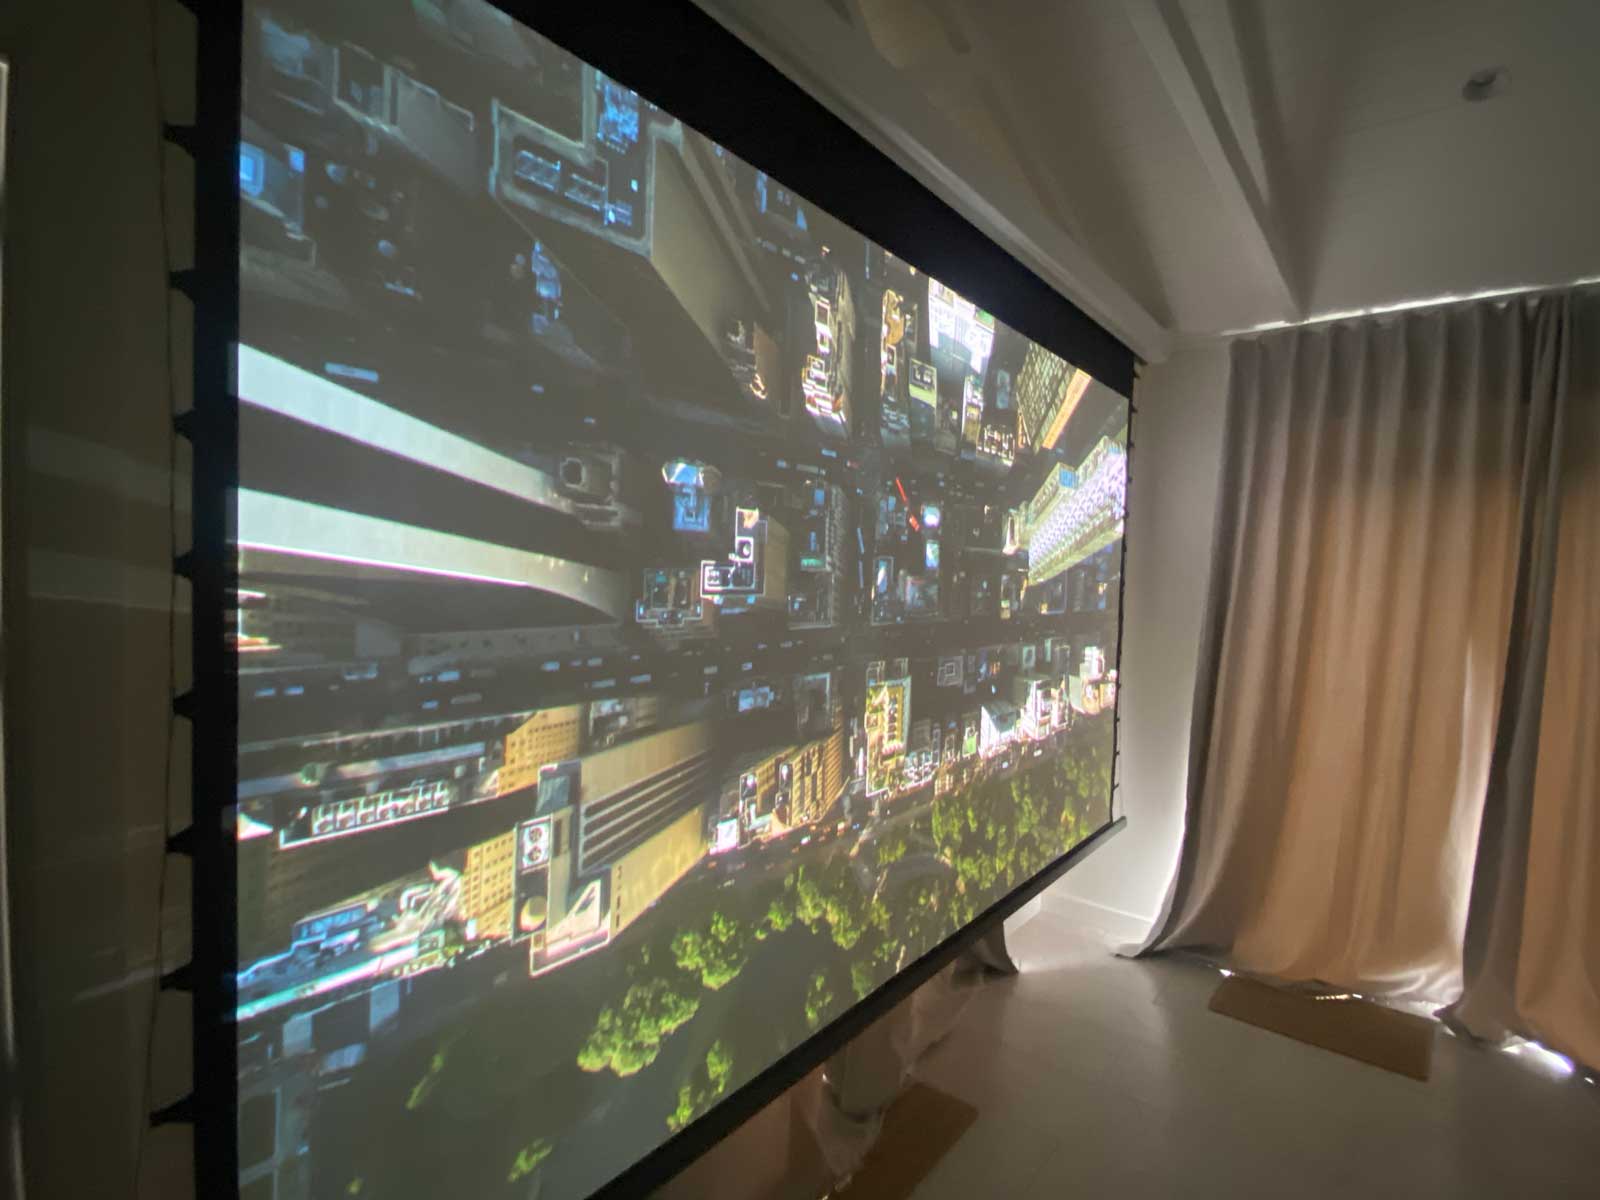
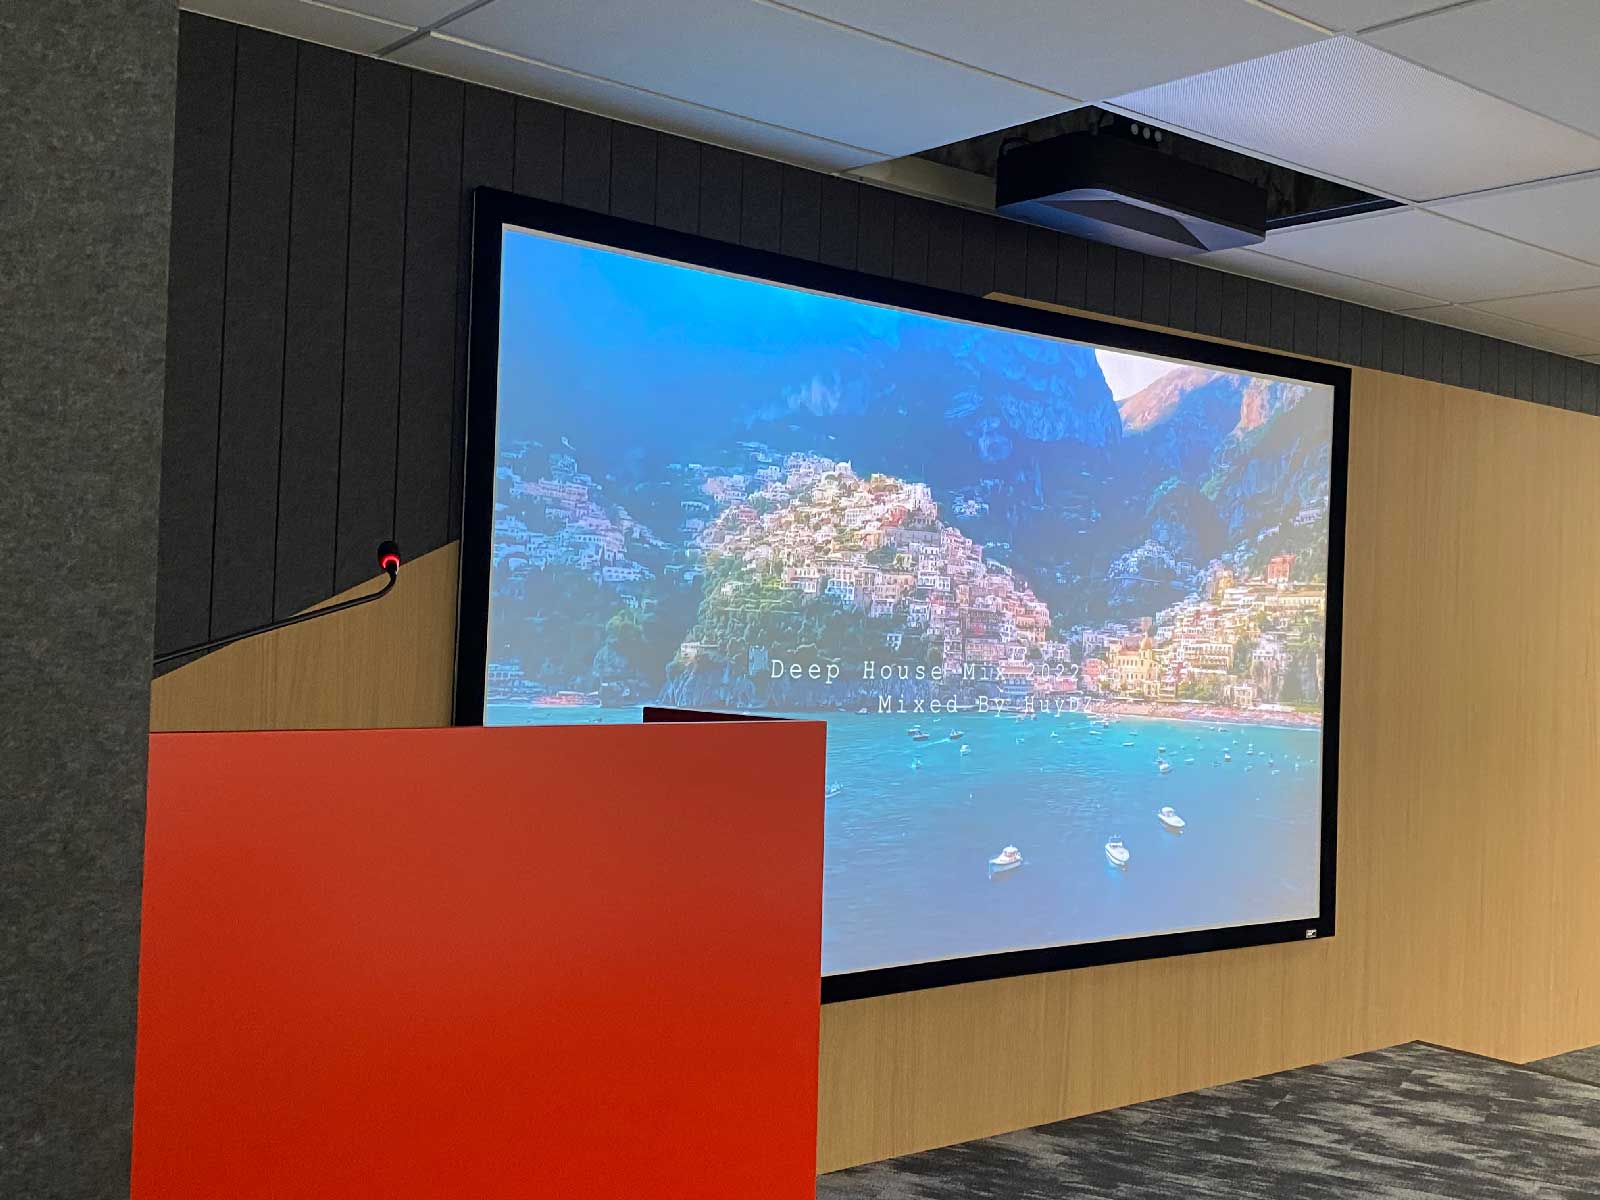
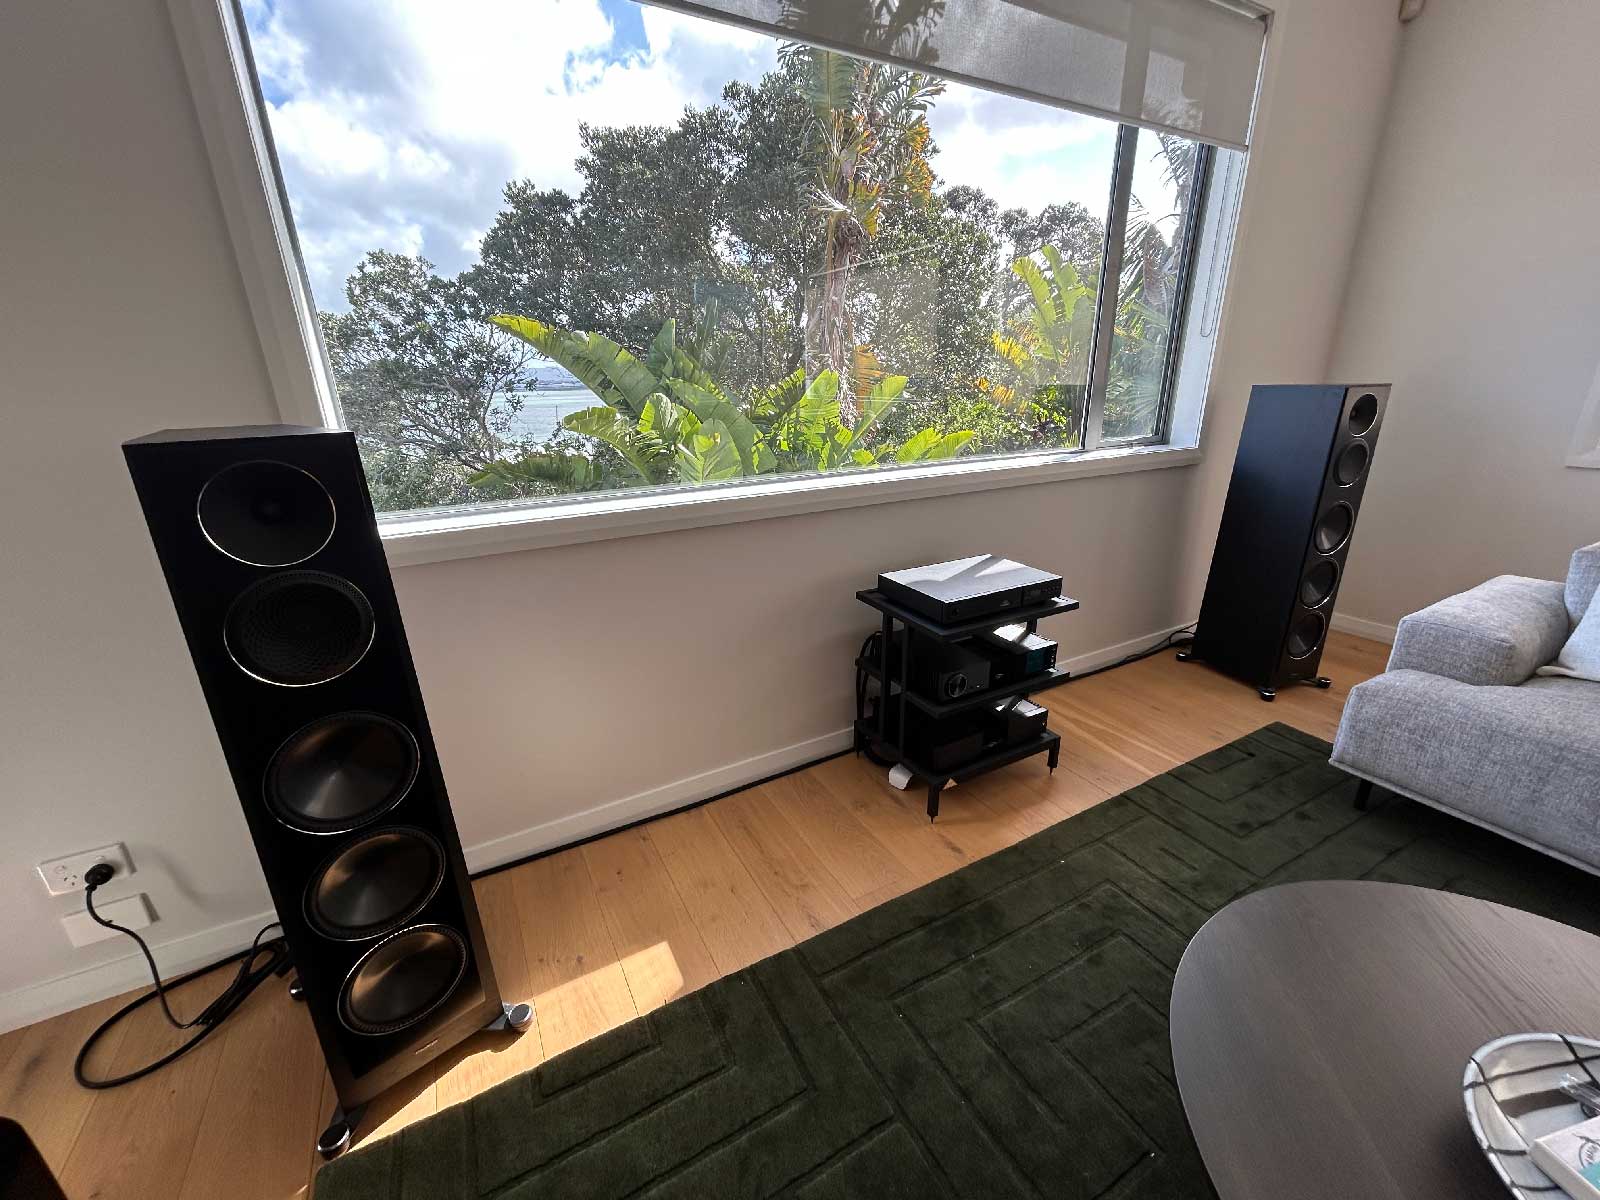
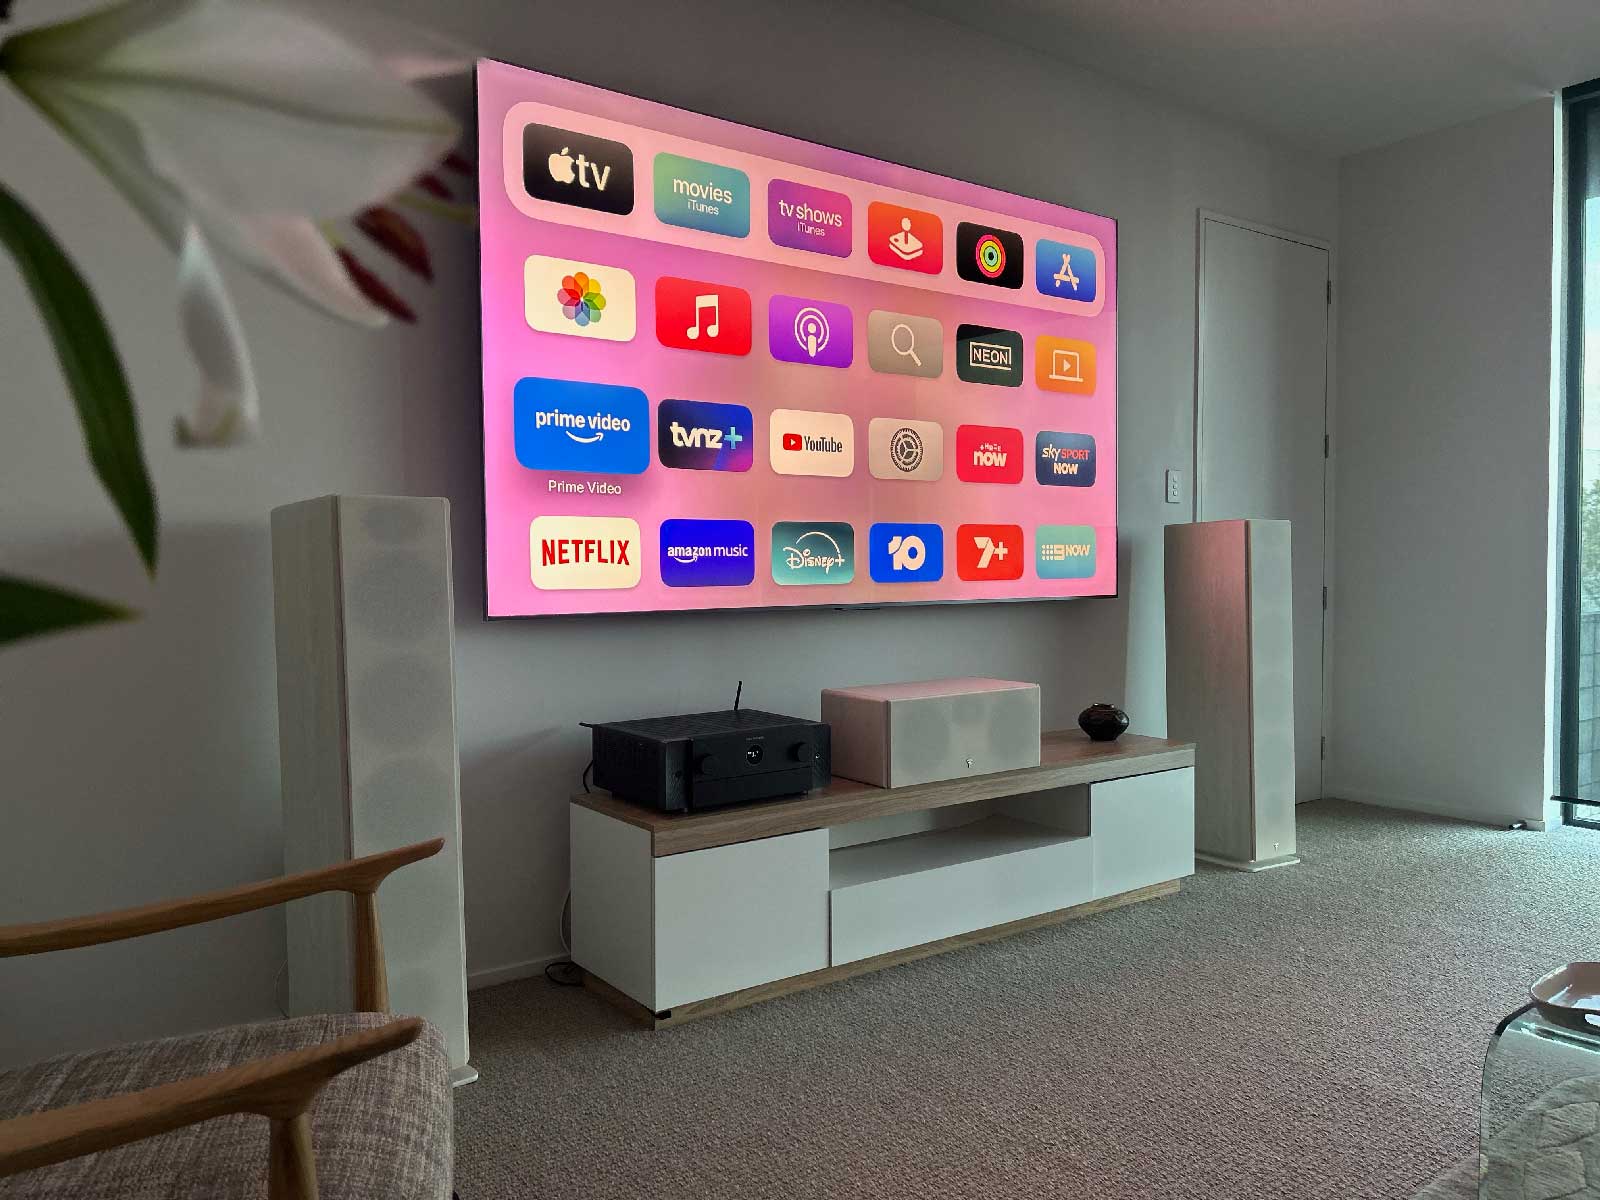
We do understand the appeal, though. I mean, just compare these two photos and tell me you prefer the second set-up.:-)
Time to update that old blog, we say!
Selecting a Wall Mount for Your TV
Now that you have decided to go full steam ahead with the purchase of your new TV, you will also have to face the decision of what wall bracket to settle on. But how do you do that, when there are wall brackets in the Rapallo store for as little as NZD22, but at the same time, there are three figure options.
Is there even a difference?
The answer to that question is ‘yes, to some extent’. Sure, you can pay NZD129 for the exact same ‘golden bracket version’ of the 22NZD one we mentioned above if you’re not careful. The question for you to answer is what your needs are, which brackets meet those expectations and whether the difference in bracket is also worth the difference in price for your individual situation. So here are the considerations to make:
- Consider the size and the weight of your new TV before anything else.
- Do you want that flat screen TV as flat as possible? If so, choose a low-profile model.
- Do you require a downwards tilt (because you want to mount your TV at a slightly higher than ideal position)? If so, choose a tilting profile model.
- Do you require additional flexibility when it comes to position adjustment of your TV (for instance to avoid glare)? If so, choose the full motion (swivel and tilt) option.
- Do you want a close wall fitting with additional flexibility in after-installation adjustments to ensure your TV is absolutely level and centred (even with off-centre studs) and easy reach for cables etc.? Choose the Sanus wall bracket. Yes, it’s more expensive, but it’s also a luxury version of the cheaper wall brackets.
Click here to view our range of TV Wall Mounts
Tools for Mounting Your TV
To get started on this project you’re going to need some tools to make it work right and keep that expensive TV up on the wall. Here’s the set of tools you’re going to need to make the project go smoothly:
- pencil
- Drill and drill bit fitting your bracket screws
- Feed through wall plate(s)
- Tape measure
- Painters tape (optional)
- Level
- Hammer
- A few nails
- Utility knife
- Stud-finder
- High quality wall anchors (if no other option)
- Screws and washers for wall anchors
Getting Started – How to Wall Mount Your Flat Panel TV
Allow for 2-3 hours to complete this job if you’ve never done this before. Likely, you’ll be done earlier – but the last thing you want is to be rushed for time in case things don’t go quite a smoothly as you were planning them to go.
Next, open the mount packaging and lay out all the contents in a place that’s out of the way. Also have your tools from the above list ready. Your bracket mount probably included some instructions about how to proceed from here. If they’re clear enough, feel free to follow them. If not, read on…
Attaching the mounting brackets to your TV
We’re starting our project off with attaching the mounting brackets to the TV.
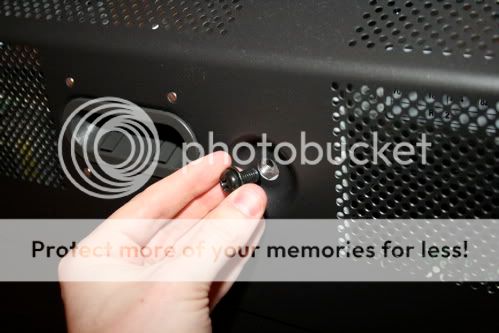
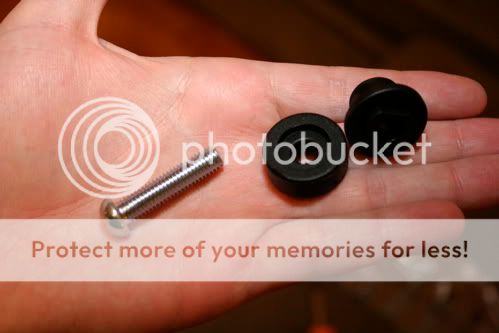
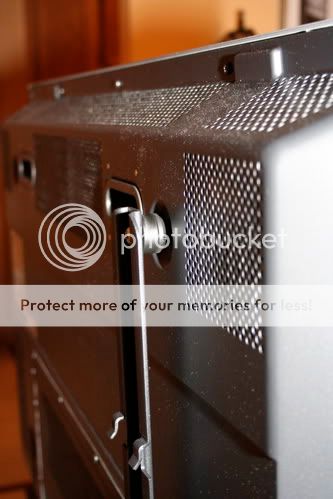
Most TVs have mounting holes flush with the back on the monitor. Make sure to use the correct size mounting bracket screws identical in size of the nubs that were used to cover the holes in the TV. Screw each mounting arm to the back of the TV.
Be sure not to over-tighten or use screws that are too long. If they are, use rubber gaskets. Before you attach the wall plate to the wall, insert the security screws into each end of the bracket. Tighten them just half way, so they’re able to turn freely. This requires a gentle hand, it’s best to start off this part with your fingers, then continue with a manual screwdriver (don’t use an electric one at this stage). If you feel too much resistance, it means you need to reconsider the size of your screws.

Attaching the Mount to the Wall
Now comes the fun part! Unfortunately, it’s also the most difficult part of the mounting process. Time to roll up those sleeves!
The key thing to consider when mounting a television is whether or not your wall can hold it up. Living in New Zealand, the magic word is ‘studs’. Today’s televisions may look no heavier than a your family’s picture on the wall; but we assure you, they are. And the last place you want to find your new television is on the floor.
No stud? Choose another location that does have a stud where you need it. Sounds tough, but the advice is golden.
Considering that studs in New Zealand tend to be about 60 cm apart, it’s extremely rare not to have at least one stud to work with. If that is the case, use that stud and work with high-quality drywall anchors for the other side. A stern word of caution though: not all drywall anchors are made equal. We swear by the ones that screw into the GIB (they come in white plastic and in galvanised steel versions). They’re more expensive than the other options, but you don’t want to skimp here. You really don’t!
Once screwed into the GIB, they are flush with the wall. Also, be mindful that they hold screws with small diameters and you are more than likely going to need washers to prevent the TV bracket screw holes from being too large for the screw head. Each of these drywall anchors takes 10-20kg (depending on their size, we recommend you err on the side of caution when deciding on the size), so if you use 4 of them you should be fine in terms of weight capacity. However, bear in mind that you cannot keep screwing your screws in and out of these anchors too many times before you weaken the link between the anchor and the GIB.
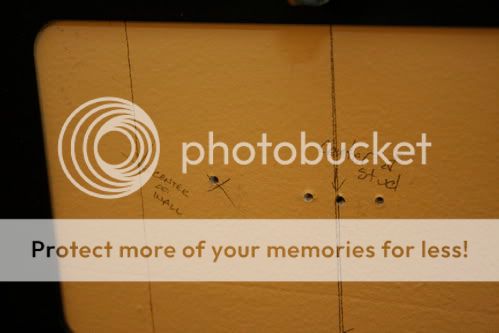
So, back to where we were: finding studs. After you’ve figured out where you want your TV to go, it’s time to get out the stud finder. To be effective, stud finders need to be properly calibrated. First, place yours on the wall and turn it on — you can usually do this by holding in a button. Let the stud finder read the density of your GIB walll (this will only take a second or two), then slowly move it from side to side. Slowly!
Go back and forth over the wall a few times, starting from a different spot with each pass. Mark each stud you discover with a piece of painter’s tape. We recommend finding three studs and using a tape measure to make sure they are the same distance apart. This will help you avoid false positives.
No stud finder at your place? Just knock. The lower pitch thuds on the wall mean that it’s hollow there and, therefore, no stud. The higher pitch thuds indicate you’re closing in on a stud. Not the most accurate way, so we still recommend a stud finder.
Another trick is to look for power points or light switches on the wall , as these are usually attached to studs,
Always double check: Stud finders are by no means flawless (the better ones are not the cheapest ones, unfortunately). After you have marked your studs and you have decided where you want to drill your holes, you should use a nail to tap into the wall to ensure you actually marked a stud; get past the GIB wall without the nail “falling in” and you’ve found a stud.
The last thing you should do before drilling is poke another little hole to the left and right of where you want to drill and make sure you are still on the stud. This will ensure you are bang in the middle of a stud, and not just clipping its side. Don’t worry about the holes, your TV should cover these once it’s up.
Now, centre the mount as best as possible on the location that you want to have your TV. Chances are that there won’t be a stud exactly where you want it to be, so you are going to have to work with it as best as you can.
Usually, there are several mounting holes spaced at small intervals horizontally across it. Occasionally you can find yourself in a situation your studs don’t line up with the holes on your bracket? Easy solution: make extra holes on the wall bracket.
When all that is considered and checked, it’s time to pre-drill the holes to prep for the lag bolts.
This is a good time to call in that extra person to hold your bracket in place while you attach the lag bolts. Confirm that your mount is level! Nobody likes a wonky expensive TV.
Next you drive those lag bolts in with a socket wrench. If you’re on the centre of the stud, you should be able to give it a good tug. Remember, it’s going to have to hold your priced new television for a few years!
Hiding the TV Cables and Wires in the Wall
Nothing ruins the look of a nice TV mounted on the wall quicker than a tangle of exposed wires. In the ideal world, that has already been done for you, but chances are that it hasn’t.
To get the wires from your TV on the wall to your Blu-ray player, AV-receiver, Xbox One, etc., you will have to cut some holes in the wall! Don’t run. It can be done.
Rapallo has feed through wall plates that will make the hole you will use to feed your cables through look tidy.
Trace a hole that will be small enough to be covered by the feed through wall plate. Now, get your trusty utility knife and cut a hole where you traced. Take it easy. Then, try the wall plate over the hole.
After you’ve done the top one, do another at the bottom and you’re ready to run some wires.
This part is pretty much self-explanatory. Figure out the wires that you need or that you think you’ll use soon. Hooking up some extra HDMI cables never hurts. We recommend to buy longer cables than your think you need. This is the most often ignored piece of advice we give people. Extra wire can be wrapped up, stuffed in a wall, or otherwise hidden. If the cables are too short, you risk them falling out, simply not reaching, breaking, or worse yet, damaging your equipment.
Drop the wires from the top to the bottom hole and pull them out at the bottom (don’t let the top end fall down your hole though). This is where a larger feed through wall plate helps as opposed to something smaller.
Test Everything
Before you mount the TV on the wall, TEST EVERYTHING and make sure all your sources are hooked up the way you want it. When your helping hand heads home, you may end up in a pickle because you hooked up the red audio cable to your red component video plug on your Xbox One (just a hypothetical example, of course).
And finally…hang the TV on the wall.
Don’t attempt to solo this one. Bribe somebody if you have to. It’s even easier to have 3 people. Two people will pick it your priced new possession and hang it on the wall, while a third person kneels under the TV and gently connects the wires.
FINISHED!!!!
Sit back, grab the remote and pop in a Blu-Ray movie. Enjoy your masterpiece… Congratulations!
Still feeling intimidated? No worries…simply call in the Rapallo cavalry, that is, our professional installer.
Important Note – How to Wall Mount Your Flat Panel TV
Please involve a certified electrician for anything related to 230V, power points, etc. Any new power outlet must be RCD protected. This can add cost to a TV wall mount and must be carried out by a registered electrician who can issue a certificate of compliance.
- Understanding Turntable Cartridges
- Setting Up a Projector for a Golf Simulator
- What Streaming Platform Should I Use?

- HDMI Cables Explained
- How To Set Up An Audiophile Network Switch

- Ground Cables and Turntables
- What Are Planar Magnetic Headphones?
- Open-Back vs Closed-Back

- Our Guide to Buying a CD Player


 NZ AV specialists available to help before or after your purchase
 Over 1800 verified product reviews from genuine NZ verified purchasers
 Secure checkout & local warranty, we look after you
 NZ price match on identical products so you know you are getting the right price