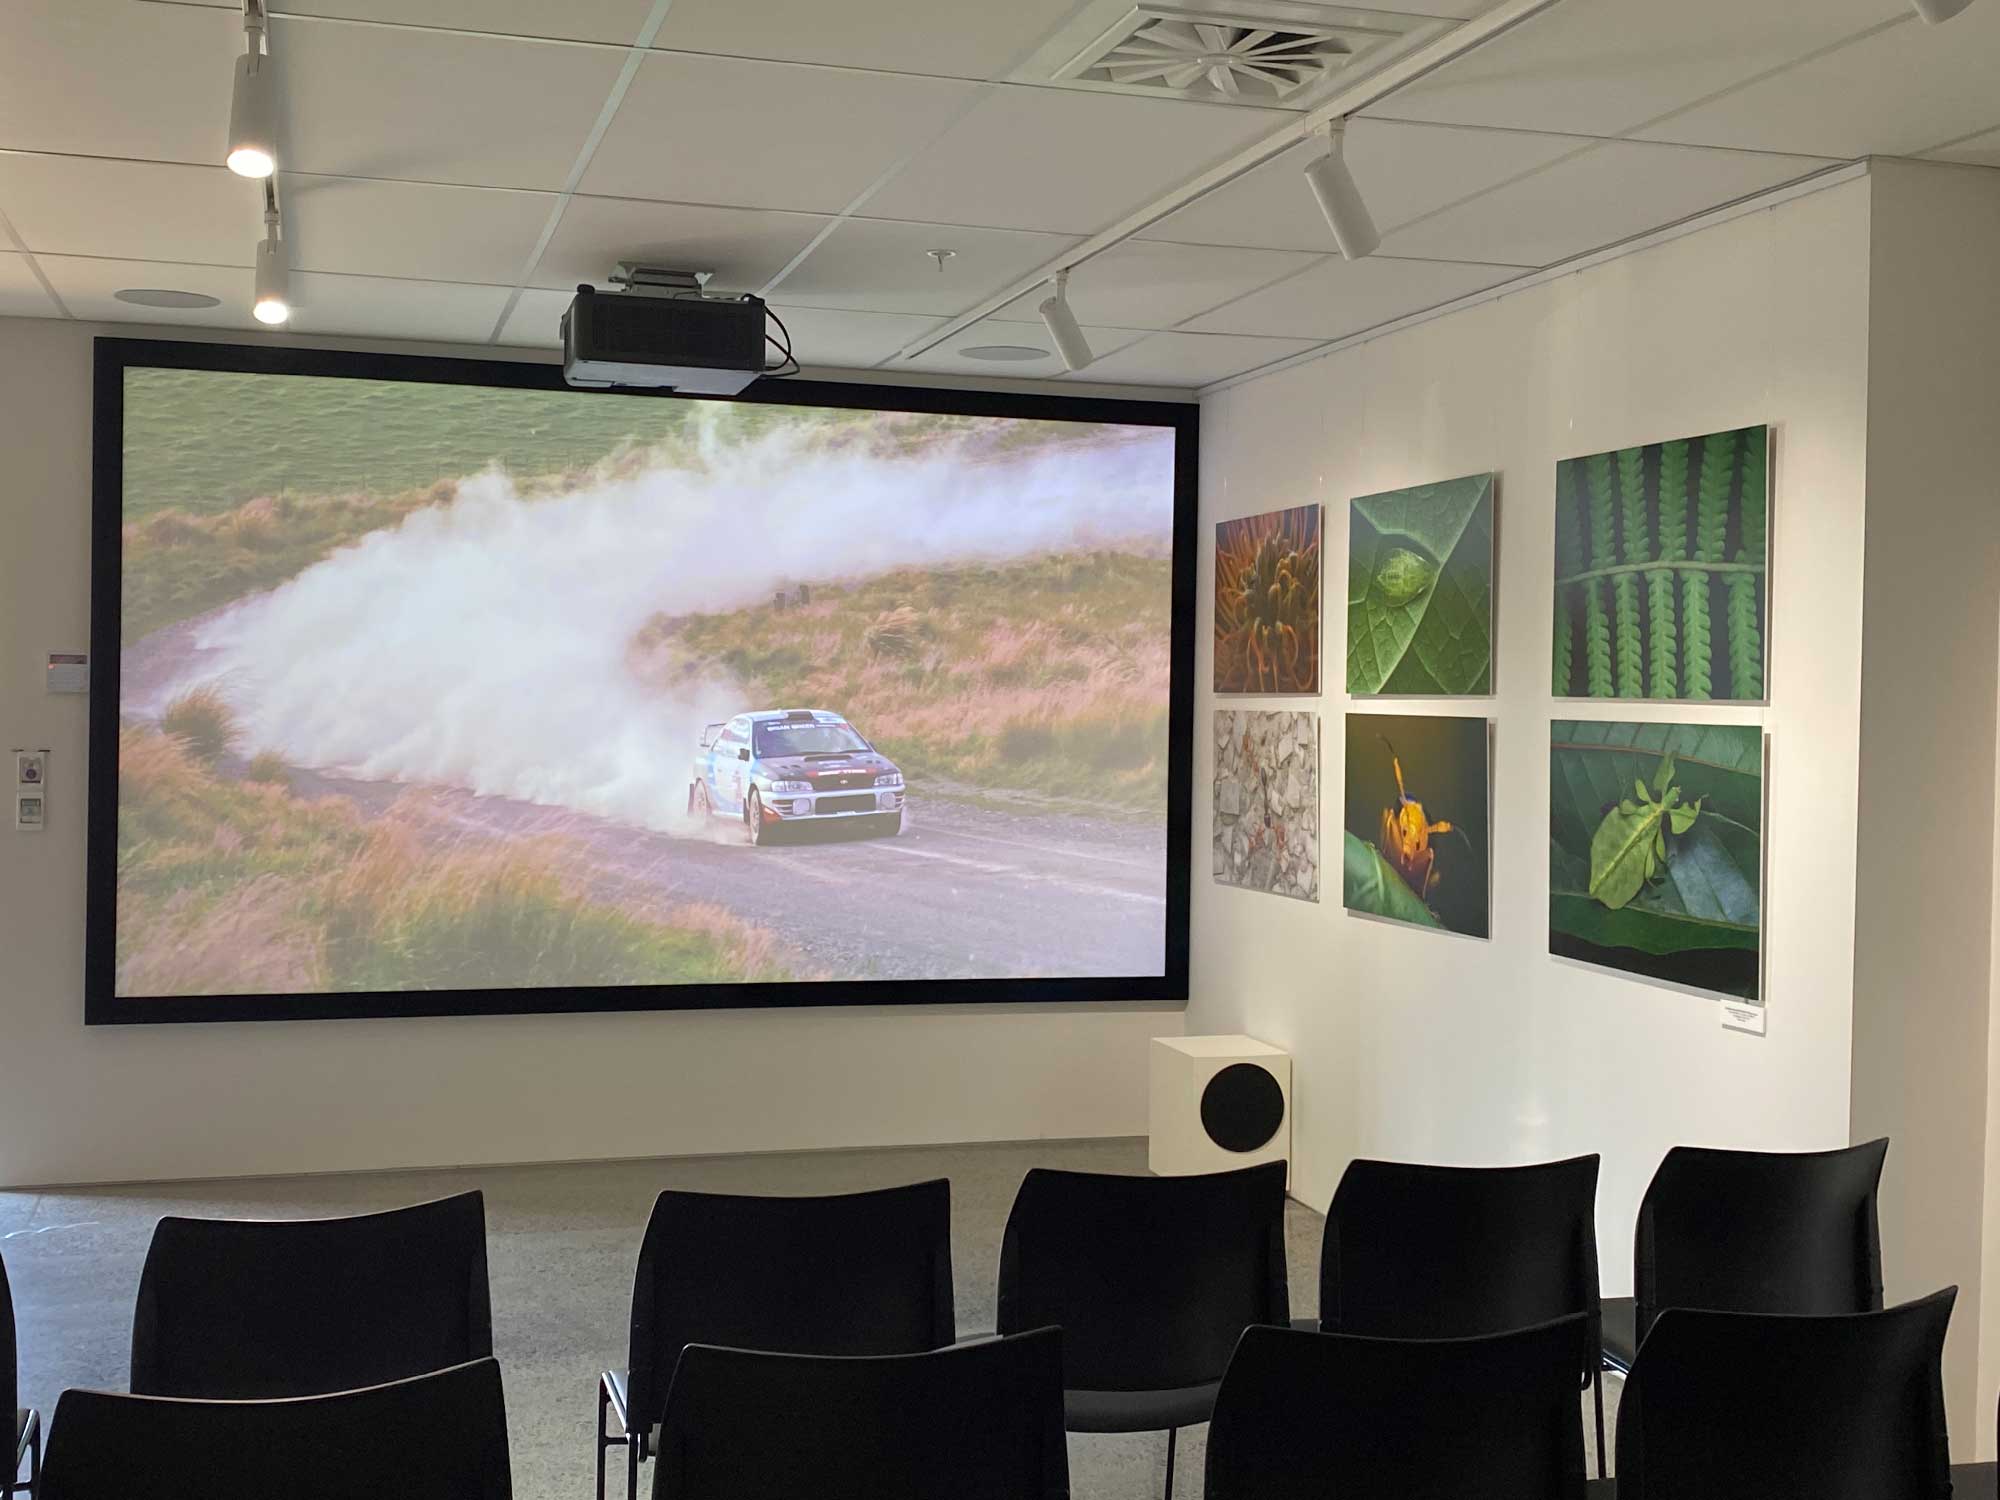
How to Install a Home Theatre Projector and Screen
Estimated reading time: 15 minutes
How to Install a Home Theatre Projector and Screen in your home.
Being the proud owner of your very own home cinema is on the wish list of many of our customers. And for good reason too. While there are many arguments to opt for a television, nothing beats the all-out emersion and full-on experience of your own private cinema, including the big screen. It sounds like a massive luxury, but really, it doesn’t need to be. Especially not if you can save some bucks on Home theatre projector and screen installation.
If you’ve never installed a projector or screen before, the process can be quite intimidating and maybe even confusing. The general idea is simple, and you probably already have a good idea of where you want each piece to go, but the specifics are unclear. Which is mounted first, the screen or the projector? How far back should the projector be from the screen? How high should the screen be? How do you fine tune the projector’s position to fill the entire screen? This guide answers all of those questions, and hopefully any others you have about how to mount a projector and screen as well.
Best location for the projector screen
Your very first task is to determine the best location for the screen. There is usually only one wall in the room that the screen will work on, but try to place it on a wall that has no direct light. The more light that hits the screen, the more washed out the image will look. If the light in the room cannot be completely controlled, you might consider an ambient light rejecting screen.
After you have decided on the best wall, the next task it to decide on the height. We recommend that the bottom of the screen be around 40-60 cm off the floor. If you have multiple rows of seating, you may need to go a bit higher to keep clean sight-lines for people sitting behind the first row. Also take into account anything that will sit below the screen, like a center speaker or an entertainment cabinet. According to THX, viewers should not have to look up more than 15 degrees.

But before you get carried away and start mounting the screen on the wall, there are some other considerations to make that you need to get sorted first. The height of the screen can be limited by the vertical offset and lens shift of your projector (which is dependent on the projector of your choice). So for now, hold your horses.
Best location for the home theatre projector
Determining the best location for the projector is quite a bit trickier than the screen. You need to take into account the projector’s throw distance, vertical offset, and lens shift, in addition to restrictions caused by the placement of electrical outlets, lights, and joists, beams, studs. Each of these variables needs to be considered one at a time. Throw distance is a good place to start.
Throw distance
The throw distance rating of a projector tells you how close or far away from the screen the projector can be mounted. If you mount the projector too close to the wall, the projected image will be too small. If you mount it too far away, the image will be too big. Thankfully, nearly all modern projectors have a zoom adjustment, which allows you to adjust the size of the image without actually moving the projector closer or farther away from the screen. This can give you great flexibility when figuring out the proper distance from the wall for your projector.
Throw distance x width of screen in inches = distance from screen to projector lens

Throw distance
For example, if your screen is 87” wide and the throw distance of your projector is 1.3, the projector should be 113” (87×1.3=113”) from the screen. Remember to measure from the centre of the projector’s lens straight to the screen, like the above image shows.
Practical throw distance
For most people, your projector will list a throw distance, or throw ratio in this case, of something like 1.5-2.25. The wider the throw ratio, the more wiggle room you have in placing your projector. Note that the closer the projector is to the screen the brighter the image will be. You can always turn the brightness up or down to suit your preferences. If the system is going in a room that will have ambient light, then the closer to the screen the better, as long as you stay within the rated throw range of your projector.
Always leave a little bit of margin in the distance calculations. We’ve had the experience with one type of projector where the manufacturer was a bit on the generous side with their throw distance. The result was an image that was not quite filling the screen. Not good.
With all of that said, you can usually get a little deeper black levels with the projector farther away. Also consider the noise of the projector when running. The fan in some projectors is loud enough to be heard during quiet scenes of a movie, so mounting it behind your seating position isn’t a bad idea. By the time you have taken into account throw distance of the projector, seating locations, and ceiling fixtures, you will probably have a very limited spot to mount the projector.
Vertical lens shift
Most projectors offer vertical lens shift, which means that the image can be adjusted up or down until it is at the proper height on the wall. If your projector has adjustable vertical lens shift, I recommend actually powering on the projector and pretend-holding it (use a ladder to save your arms) at the height and distance you want it mounted. Next, adjust the vertical offset until the image is in the right location. There may be occasions where you may need to physically lower the projector for everything to line up. In that scenario, you will need a projector mount that can accommodate an extension pipe.

Vertical lens shift
But to ease your mind, we’ve only very rarely encountered situations where mounting the projector lined up with the horizontal centre of the screen could not be done.
Horizontal lens shift
While you are mounting your projector, here’s why you should do everything within your power to mount the projector horizontally centred on the screen: First, lens shift can degrade picture quality by subtly distorting the image. The distortion might not be very noticeable, but is still a possibility. Second, vertical and horizontal lens shift interact with each other. The more of one you use, the less of the other you can use. JVC warns consumers about this in the image below. So our tip: try to avoid the use of the horizontal lens shift as much as possible.

Home theatre Projector installation
With that out of the way, we have a pretty good idea of where the projector lens needs to be. The next step is to physically mount the projector to the ceiling. We prefer the Strongmount XL projector mounts.
Here’s why: cheap mounts tend to be very difficult to make precision adjustments; not the Strongmount XL. It’s the difference between a frustrating experience and an enjoyable one. These said cheap projector mounts also tend to be prone to drift, which is when the projector slowly moves out of alignment over time. Nice mounts are more likely to hold the projector in the exact location you leave it.
Tackling the projector mount
There are two major parts to a projector mount, the part that attaches to the projector (projector plate) and the part that attaches to the ceiling (ceiling plate). You always start by attaching the projector plate to the top of the projector. Follow the instructions for your particular mount. Note that leveling the projector is easiest if you center the plate on the projector and ensure the plate is close to level.

Next, you need to determine the exact location the ceiling plate should be mounted. Attach the ceiling plate to the projector plate. Your goal here is to completely assemble the mount while the projector is still sitting on the ground. Measure the distance from the lens to the ceiling plate. As you can see in the image below, that distance was about 6” for this install. Carry over that measurement to where you marked the ideal lens placement on the ceiling earlier in the install. Measure back and make another mark for the ceiling mount. In this install, that would mean that I simply measure six inches back from the lens mark, and that’s where the front of the ceiling plate should be.
If the ceiling plate isn’t centred side-to-side with the projector lens (some lenses are out of centre on the projector), you will also need to take that distance into account. In the below image, the ceiling plate is centred side-to-side with the lens, so no additional measurements were needed.

The mount should come with 4 bolts, but most of the time only two are needed if they are properly centered on a ceiling joist.
Studs
I never fully trust stud finders (especially on textured ceiling), so I recommend poking a small nail or precision screw driver into the ceiling to ensure you found a joist. In some instances there won’t be a joist where you want to mount the ceiling plate. In this case, you will either need to utilize lens shift or mount the plate to a block of wood that’s large enough to span the distance between two joists and secure that block to the ceiling joists (that block can go inside the ceiling if you have attic access). If you are installing your projector in a new-build or large renovation, you can ask your builder to allow for this (which is why we keep recommending to start planning your home cinema early on in the building project) Once the ceiling plate is secured, install the trim plate that came with the mount.
Final home theatre projector installation step
Enlisting the help of a significant other or friend is a good idea when attempting the next step. Verify everything is secure (important step, we say!), then lift up the projector and attach it to the ceiling plate. Install any safety screws that came with the mount. Attach any power and video cables, and loosely zip tie the cables in place. To help avoid drift and lessen the risk of damaging the inputs on the projector, zip tie the cables to the mount, not the projector. You still need to leave enough slack for final adjustments.
Projector screen installation
Now is a good time to put the screen up. We won’t go into detail as it really depends on whether you have chosen a fixed frame screen (acoustic transparent is different from normal fabric!), motorised (in ceiling or on ceiling?) or manual screen.
Now comes the hardest part of the entire process. You will need to adjust the focus, zoom, pitch (tilt up and down), yaw (angle to the left/right), and roll (horizontal level) of the projector/mount. This is where buying a nice projector mount, like the StrongXL, really pays off. These adjustments are very minor, thus they require a mount that is stable and offers precision control.
Adjustments
Most projectors come with a built-in grid pattern that will help when making these adjustments. If you don’t have access to any test pattern, a normal 16×9 HD signal will also work.
You should start by taking a minute or two to get the image relatively close to accurate before doing any fine adjustments. As you go through this arduous process, know that you will have to revisit each adjustment multiple times. Every time you adjust one thing, it will affect something else. This is a back-and-forth process. It’s also nice to use two people, one to make the adjustments and the other to stand by the screen and give feedback. This is especially true if the projector is far away from the screen.
Zoom adjustments
Zoom is adjusted by turning a ring around the lens or can be motorised. I normally make the image slightly larger than the screen to ensure that the entire screen is filled. Any part of the image that spills over will be absorbed by the screen frame. Sometimes I will purposefully make the image too small while performing other adjustments and only zoom out to the cover the full screen when everything else is dialed in. This is because it can be easier to tell if pitch, roll, or yaw are incorrectly set when you can see the border of the image on the actual screen, as opposed to the frame around the screen.
Focus adjustments
Adjusting focus on a projector is just like with a camera. Again, it can be controlled via a ring around the lens or it can be motorised, depending on your projector. You start by moving the image out of focus, and then slowly adjusting the ring until the image snaps into focus. We’ve heard about people using a pair of binoculars. We prefer to walk up to the screen to check focus close-up. That said, many people simply adjust focus using their naked eye from the distance of the projector.
Roll adjustments
Roll is fairly easy to adjust. Assuming that the screen is level, all you need to do is set a small torpedo level on the projector, oriented so it is parallel to the screen, and adjust the mount until the projector is also level. If yaw is not correct, it’s possible that the image will look unlevel even if the projector and screen are both level. Remember, fine-tuning is a process of repeatedly making small adjustments to each setting. You don’t simply adjust any setting to be perfect and then move on to the next one. It’s very much a back and forth process.

Incorrect Roll
Pitch Adjustments
If the projector is pointing up or down, you will have issues with pitch. The projector should be pointing straight forward, perpendicular to the screen. If pitch is set correctly, the left and right sides of the image will be parallel. The easiest way to dial in pitch is to set a small torpedo level on the projector, oriented so it is perpendicular to the screen, and adjust the mount until the projector is level.

Incorrect pitch
Once the pitch is set properly, chances are that the image will be too high or low on the screen. This is where vertical lens shift comes into play. Use lens shift to bring the image up or down. You may have to go back and forth between adjusting pitch and vertical lens shift a few times until the image is lined up properly.
A note of caution: Do not, EVER—no matter what—use keystone correction. Keystone correction is digital processing used to manipulate the size of the image and compensate for incorrect pitch. It is convenient, but will reduce image quality. If vertical lens shift doesn’t do the trick, you will need to physically lower or raise the mount or screen.
Yaw Adjustments
Yaw is the most difficult adjustment to make. Unlike roll and pitch, you can’t use a level. To adjust yaw, you need to turn the projector from side-to-side until the top and bottom of the image are parallel. If the lens is exactly horizontally centred on the screen, the image will also be horizontally centred on the screen. If the lens is a little off, the image will be off. Just like adjusting pitch, lens shift is used to fix this problem. Adjust yaw a little bit, then lens shift, then yaw, and so on, until the image is horizontally centred. Use a laser pointer measure to measure the distance from the left side of the projector to the screen and then the right side of the projector to the screen. The distance should be equal for both!

Incorrect Yaw
An invaluable tip when adjusting yaw is to use a piece of tape to mark the centre of the screen (place the tape on the frame, not the screen). It’s far easier to line up the centreline on a test pattern to a piece of tape than it is to use the edges of the screen as a reference. You can also use this trick when adjusting pitch, just put the tape on the vertical centre of the screen instead of horizontal centre.
Have a go, keep working until your image is perfectly adjusted on the screen. It’s a bit of a work of patience and persistence, but once it’s done. It’ll have been worth every second of it. And with the projector and the screen perfectly mounted, you can now proceed in getting the projector settings to your liking, kick back and indulge in the incredible experience that is a home theatre all to yourself!
- Why Every Audiophile 2-Channel System Can Benefit From a Subwoofer

- Understanding Turntable Cartridges
- Setting Up a Projector for a Golf Simulator
- What Streaming Platform Should I Use?

- HDMI Cables Explained
- How To Set Up An Audiophile Network Switch

Source: Audioholics


 NZ AV specialists available to help before or after your purchase
 Over 1800 verified product reviews from genuine NZ verified purchasers
 Secure checkout & local warranty, we look after you
 NZ price match on identical products so you know you are getting the right price